The slat wall calculator above shows you exactly what you'll get when your MDF strips arrive. It calculates the precise spacing, tells you how many strips to order, and generates a detailed cutting plan so nothing gets wasted on site.
Important: You're ordering raw MDF strips that arrive uncut. The calculator works out the layout, but the cutting, fitting and finishing happens on your end.
How the calculator works
The calculator takes your wall size and slat dimensions, then works backwards to find a gap width that makes everything fit perfectly. You might want 15mm gaps but get 14.7mm instead – that tiny difference prevents awkward partial gaps at the edges.
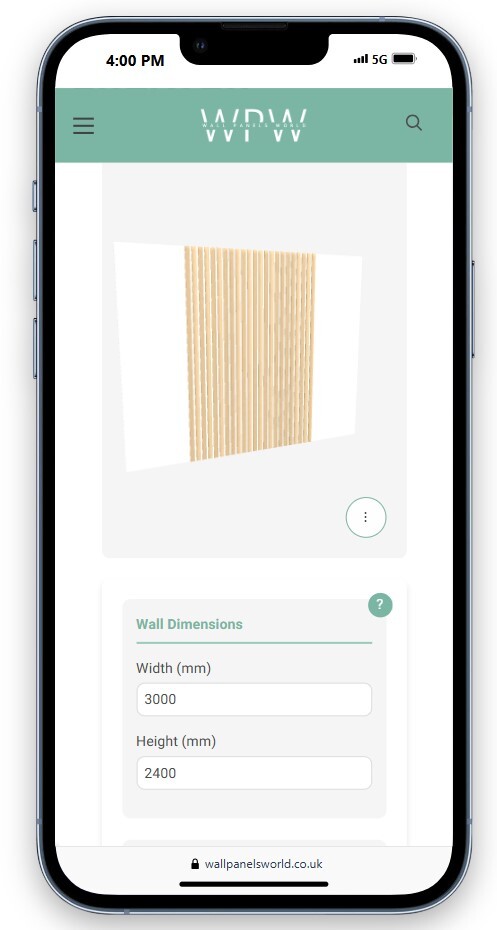
It shows you a 3D preview of what you'll actually build, complete with your chosen panel position and any obstacles you've marked. The measurement bar below updates in real-time so you can see how changes affect the layout.
The system calculates how much material you need, then shows you how to order it. Most people choose between 2440mm and 3050mm strip lengths – shorter ones fit in cars easier, longer ones mean fewer cuts.
You get a detailed PDF with all the cutting dimensions and a materials list. Print it out and keep it handy during installation.
What you actually receive
Your order arrives as full-length MDF strips that need cutting to size. The calculator tells you how many strips to order – the actual cutting and installation is your job.
Each strip arrives as a long, straight piece of MDF. You cut it down to your panel height, then fix the pieces to your wall with the calculated spacing.
The finish options affect what you get. Unprimed arrives as raw MDF that needs primer and paint. Primed is ready for a topcoat. Undercoated needs only a final coat. Matt grey is factory-finished and ready to install.
Gap width optimisation
The gap between slats affects both the visual impact and the practicality of installation. The calculator adjusts your preferred gap slightly to ensure perfect fit without awkward partial gaps at the panel edges.
The calculator tries to get as close as possible to your preferred gap width while making sure the layout works mathematically. A 0.3mm difference in gap width is invisible once installed but prevents installation headaches.
Finishing raw MDF
MDF needs proper sealing to prevent moisture absorption and ensure paint adhesion. The edges are particularly porous and need extra attention.
Paint before or after installation?
Most people find it easier to paint the strips before cutting and installation. You can work on a bench, get even coverage, and avoid paint runs. Just touch up any cut edges and screw holes afterwards.
If you're staining for a wood effect, you'll need to sand to 240 grit first. MDF doesn't take stain evenly without proper preparation, and you'll get blotchy results.
Typical painting process
Light sand with 120 grit to remove any roughness and key the surface
Prime all surfaces including cut edges. MDF primer is specifically designed for this
Light sand primer with 240 grit once dry – this step makes a big difference to finish quality
Apply topcoat in thin, even coats. Two thin coats beat one thick coat
Background wall effects
Paint the wall behind your slats before installation – trying to paint between installed strips is messy and you'll get uneven coverage in the gaps.
Popular background treatments
Dark background
Charcoal or black walls make the gaps nearly invisible, creating a floating slat effect. Works especially well with light-coloured slats.
Matching colour
Same colour as the slats creates subtle texture without strong contrast. The shadow lines provide the visual interest.
Accent colour
Bold background colour shows through the gaps as design detail. Works with neutral slat colours for controlled contrast.
Remember that the background colour affects how the gaps appear throughout the day as light changes. South-facing walls create stronger shadow patterns than north-facing ones.
Background colour impact
Visible gaps
Gaps show clearly, each slat appears separate. Good for emphasizing the texture pattern.
Hidden gaps
Gaps fade into shadow, creating floating slat effect. More subtle, sophisticated appearance.
Installation reality
The calculator assumes you have a perfectly flat wall. Most walls aren't perfect, so you'll likely need to check for high and low spots before starting.
A 2-meter straight edge will show you where your wall dips or bulges. Pack out low spots with thin strips or plane down high spots for the best result.
Common installation challenges
Uneven walls
Use a long straight edge to find dips and bumps. Pack out low areas with thin strips behind the slats.
Switches and sockets
Mark these in the calculator's obstruction tool, but expect to do some careful cutting around them in reality.
Gap consistency
Cut a spacer block to the exact gap width. Use this between each slat rather than measuring each time.
Most people use construction adhesive plus a few discrete screws or pins. The adhesive does the work, the mechanical fixings just hold everything while it sets.
Getting the most from the calculator
The calculator gives you a solid starting point and accurate material quantities. The 3D view helps you visualize proportions, while the PDF plan provides exact cutting dimensions and installation guidance.
Experiment with different gap widths and panel positions to find what looks right for your space. Wider gaps create stronger shadow lines, narrower gaps give a more uniform texture.
Remember that slat walls are quite forgiving – small variations in gap width or slight imperfections usually aren't noticeable once everything's painted and properly lit.