Posted by Wall Panels World on 27th Jun 2025
DIY Artificial Green Wall Panels | £90 Materials | Living Wall Panel
Creating your own artificial green wall panel transforms blank walls into striking focal points without the maintenance demands of living plants. This comprehensive guide walks through building a professional-looking vertical garden panel using readily available materials and basic woodworking skills.
Project overview: Build a framed artificial living wall panel measuring approximately 160cm × 52cm for around £90-120. Suitable for beginners with basic DIY skills.
Why build your own artificial green wall panel?
Artificial plant wall panels offer the visual impact of living walls without watering schedules, growth concerns, or light requirements. Building your own allows complete control over size, foliage selection, and frame style to match your specific space.
Pre-made artificial living wall panels often come in standard sizes that might not suit your wall dimensions. Creating a bespoke panel ensures perfect proportions and lets you choose exactly the plant varieties and density you prefer.
The finished panel provides an excellent conversation piece that guests often assume is considerably more expensive than it actually was to create.
Materials and tools needed
This project uses easily sourced materials from hardware stores and craft suppliers. The frame construction is straightforward, requiring only basic joinery skills.
Frame materials
- Timber for frame (pine or similar) - approximately 6 metres of 45mm × 20mm
- MDF backing board - 2mm thick, cut to internal frame dimensions
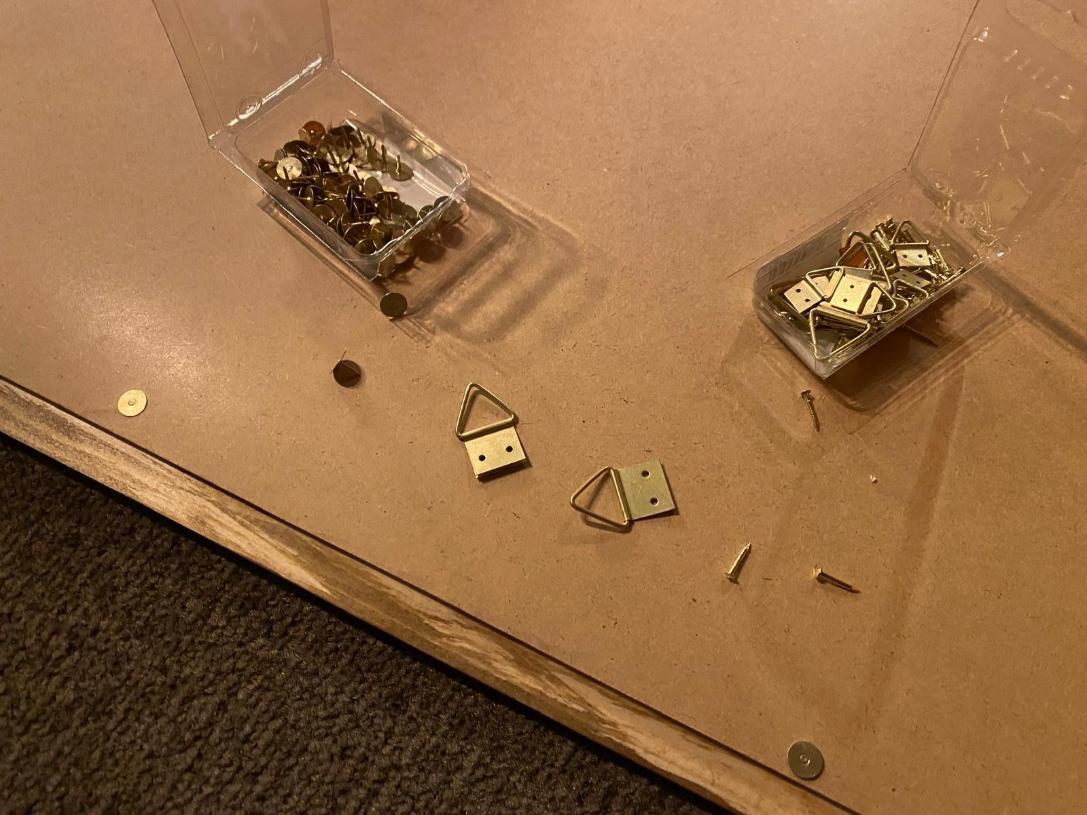
- Flat iron corner brackets × 4
- Picture hanging hardware appropriate for wall type
- Wood stain or finish of choice
Foliage and assembly
- Artificial plant tiles/mats - approximately 52cm × 52cm coverage
- Strong adhesive suitable for MDF and plastic
- Panel pins or small screws for backing attachment
- Additional artificial foliage for filling gaps (optional)
Essential tools
Basic cutting
- Mitre saw or saw box
- 45-degree cutting template
Assembly
- Drill with bits
- Screwdriver
- Clamps (helpful but not essential)
Finishing
- Sandpaper (120-240 grit)
- Paintbrush for staining
- Measuring tape
Step-by-step build guide
The construction process breaks down into frame building, backing attachment, and foliage installation. Allow approximately 4-6 hours for the complete project, plus drying time for adhesive and finish.
Cut and prepare frame pieces
Measure and cut your timber to create a frame slightly larger than your intended foliage coverage. For 52cm × 52cm artificial plant tiles, an internal frame dimension of approximately 156cm × 52cm works well, allowing for tile overlap.
Cut the pieces with 45-degree mitres at each end for clean corner joints. A mitre saw gives the most accurate results, but a hand saw with a mitre box also works effectively.
Pro tip: Use the cheapest suitable timber you can find. The frame will be largely hidden by foliage, so appearance matters less than straight, consistent dimensions.
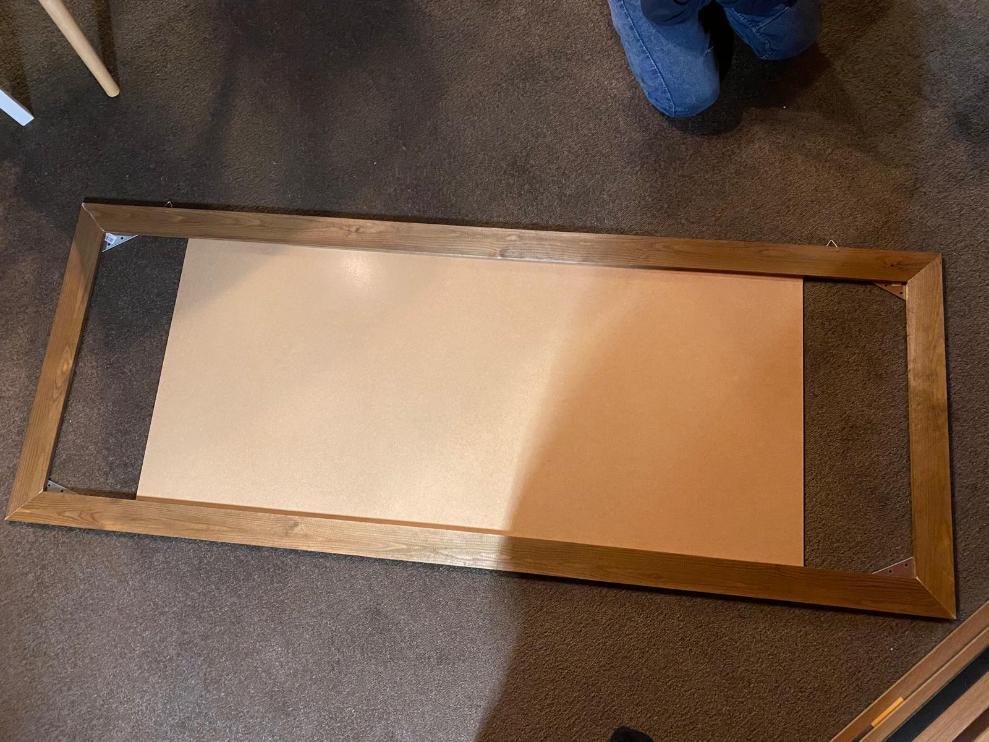
Assemble frame and attach backing
Connect the frame pieces using flat iron corner brackets, which provide strong joints without complex joinery. The brackets attach to the rear face, keeping the front clean.
Cut your MDF backing board to fit within the frame recess. It doesn't need precision fitting as the foliage will cover any gaps. Fix the backing using panel pins around the perimeter.
Apply finish to frame
Sand the frame lightly to remove any rough edges, then apply your chosen stain or finish. A dark walnut stain creates an attractive contrast against green foliage and suits most interior styles.
Allow the finish to dry completely before proceeding with foliage installation. This prevents any transfer onto the artificial plants.
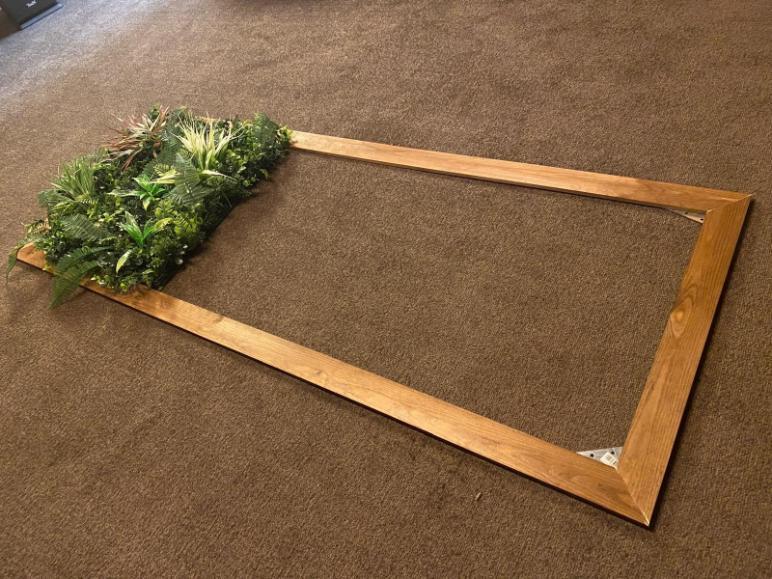
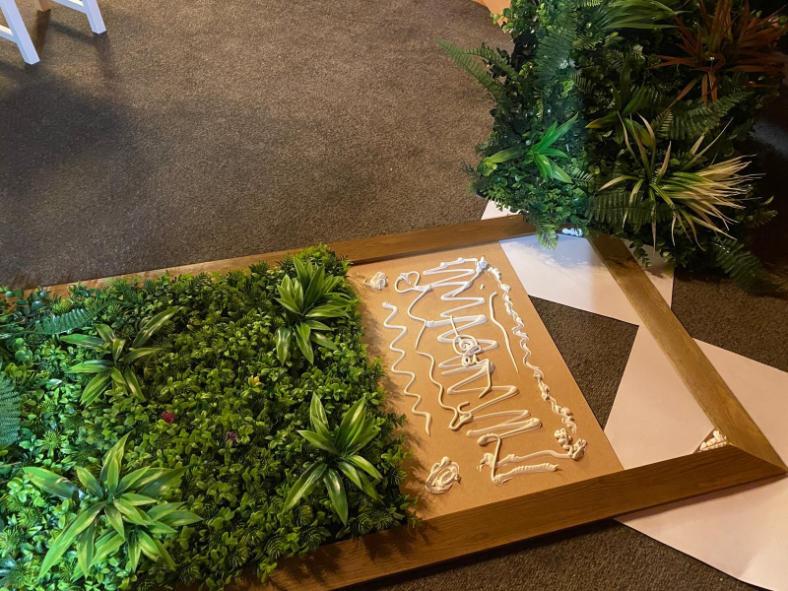
Install artificial foliage
Apply adhesive to the MDF backing in sections, working systematically across the panel. Position your artificial plant tiles, pressing firmly to ensure good contact with the adhesive.
Allow tiles to overlap slightly at edges to eliminate any gaps. The "overhanging" leaves mentioned in the original build help create a natural, lush appearance.
Final assembly and installation
Once the adhesive has set (typically 24 hours), the panel is ready for hanging. Install appropriate wall fixings for the panel weight - expect around 3-5kg for a completed panel of this size.
Position at eye level or slightly above for maximum visual impact. The panel creates an excellent focal point behind furniture or as a standalone feature wall element.
Cost breakdown
The total project cost for a panel measuring approximately 160cm × 52cm comes to around £90-120, representing significant savings compared to equivalent commercial panels.
| Component | Estimated cost | Notes |
|---|---|---|
| Timber frame | £10-15 | Basic pine or similar, 6 metres |
| MDF backing | £8-12 | 2mm sheet, cut to size |
| Adhesive | £6-10 | Strong multipurpose adhesive |
| Hardware | £8-15 | Brackets, screws, hangers, pins |
| Artificial foliage | £60-80 | Plant tiles for full coverage |
| Total | £92-132 | Plus wood stain/finish if required |
For comparison, a similar-sized commercial artificial green wall panel typically costs £200-350, making this DIY approach approximately 50-60% less expensive.
Foliage quality considerations
The artificial plant quality significantly affects both appearance and longevity. Higher-grade foliage costs more initially but provides better colour retention and more realistic textures.
- Budget tiles (£25-40): Basic plastic foliage, suitable for occasional use areas
- Mid-range options (£50-70): Better colour variation and leaf textures
- Premium tiles (£80-120): UV-stable materials with realistic leaf details
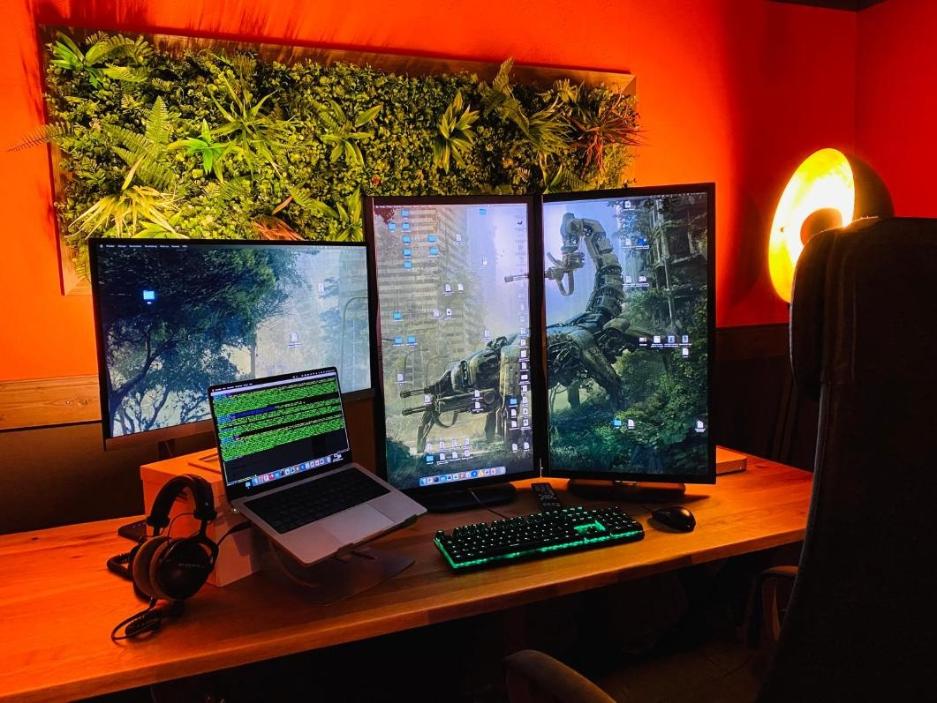
Design variations and ideas
The basic frame and backing approach adapts to numerous design variations. Different foliage arrangements, frame finishes, and sizing create unique outcomes for various interior styles.
Alternative frame materials
While timber provides an accessible and versatile frame option, other materials create different aesthetic effects:
Metal frames
Aluminium or steel creates sleek, modern appearance. Requires metalworking tools but offers exceptional durability.
Reclaimed materials
Pallet wood or reclaimed timber adds rustic character. Ensure treatment for indoor use and pest elimination.
Painted finishes
White or coloured frames complement specific colour schemes. Use primer for good adhesion on timber surfaces.
Real-world examples
This eclectic bathroom demonstrates how artificial flower wall panels can integrate into sophisticated interior design schemes, complementing traditional elements like wainscoting and decorative wallpaper.
Bathroom feature wall installation
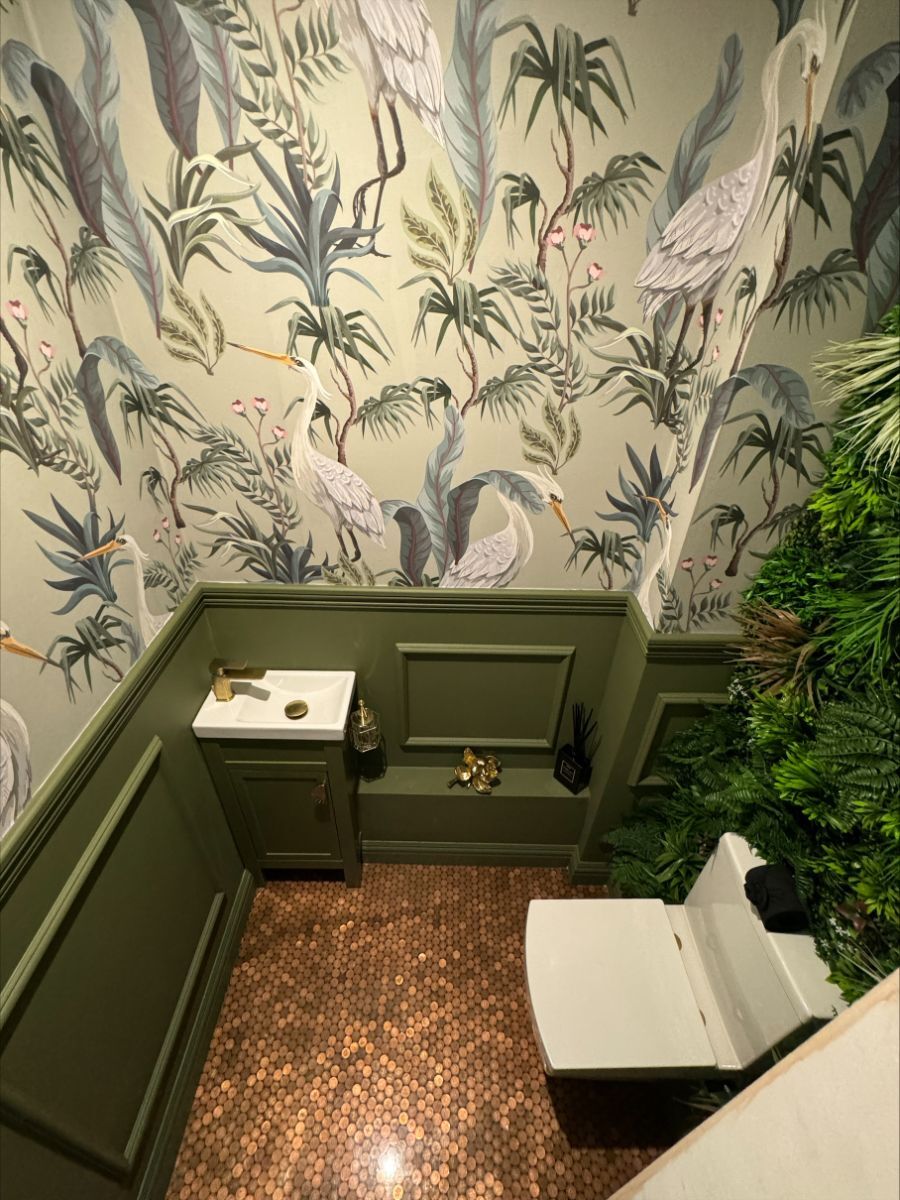
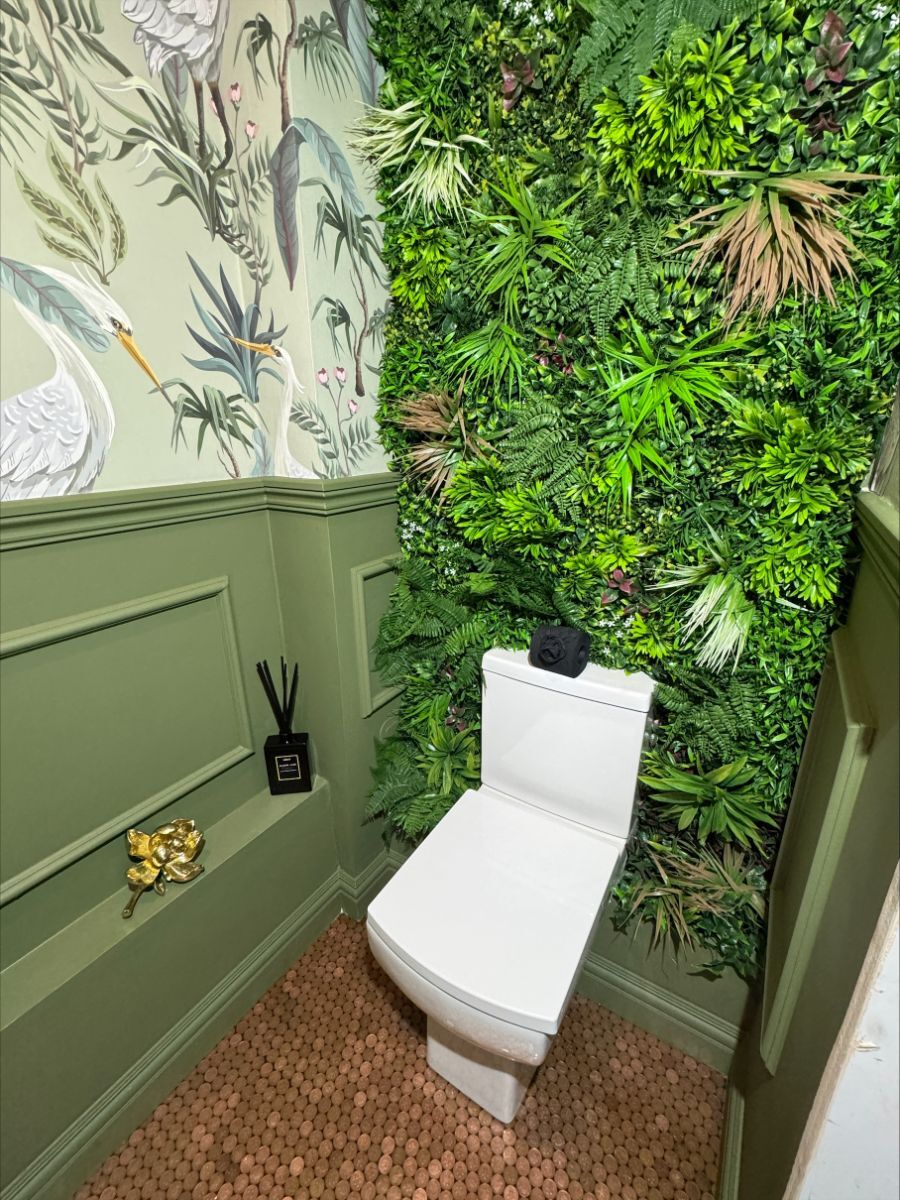
Design elements in this installation:
- Mixed artificial foliage including ferns, tropical plants, and flowering elements
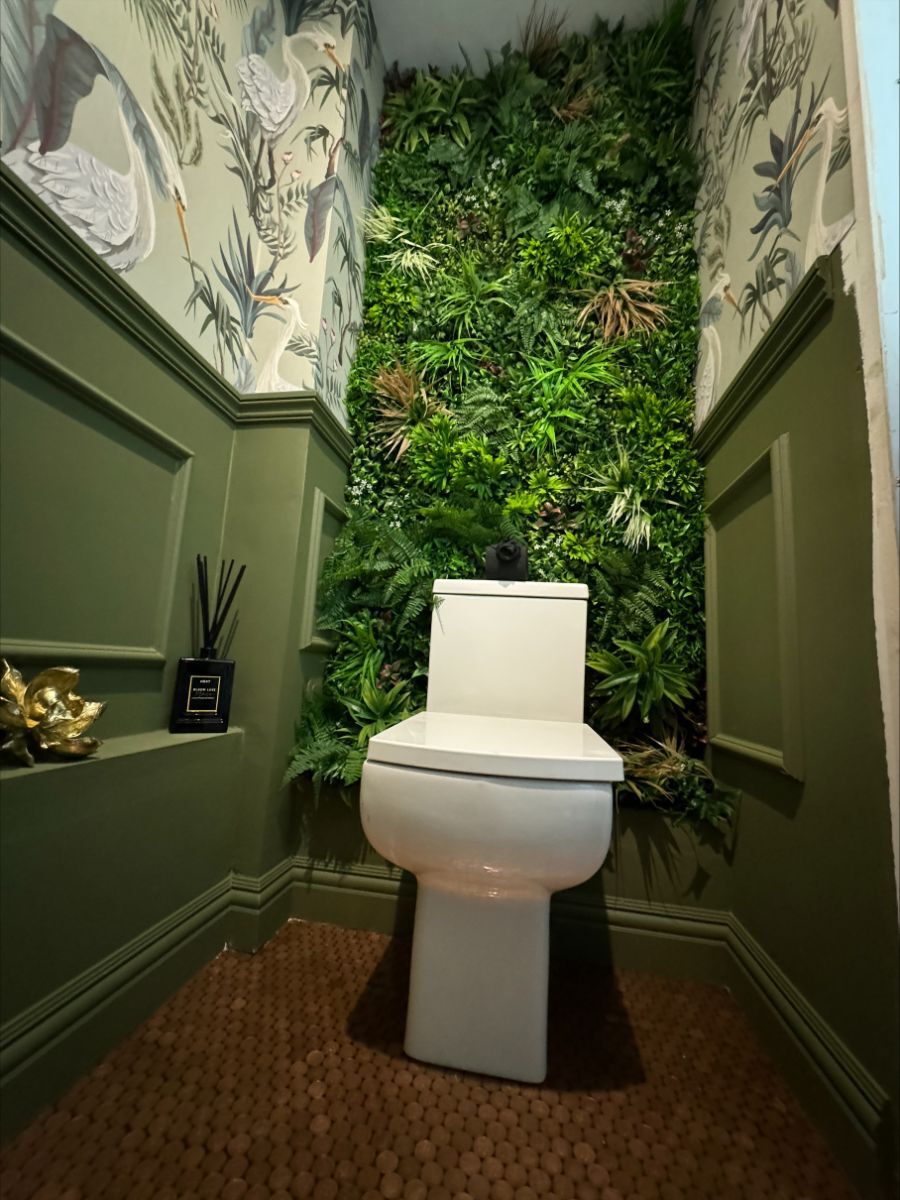
- Strategic placement behind toilet maximises visual impact in compact space
- Complementary green colour scheme tying wainscoting to living wall elements
- Moisture-resistant artificial plants suitable for bathroom humidity
- Integration with existing architectural features rather than competing elements
This installation demonstrates how artificial living wall panels work particularly well in bathrooms, where real plants might struggle with humidity and limited natural light. The varied foliage creates visual interest while requiring no maintenance in a high-moisture environment.
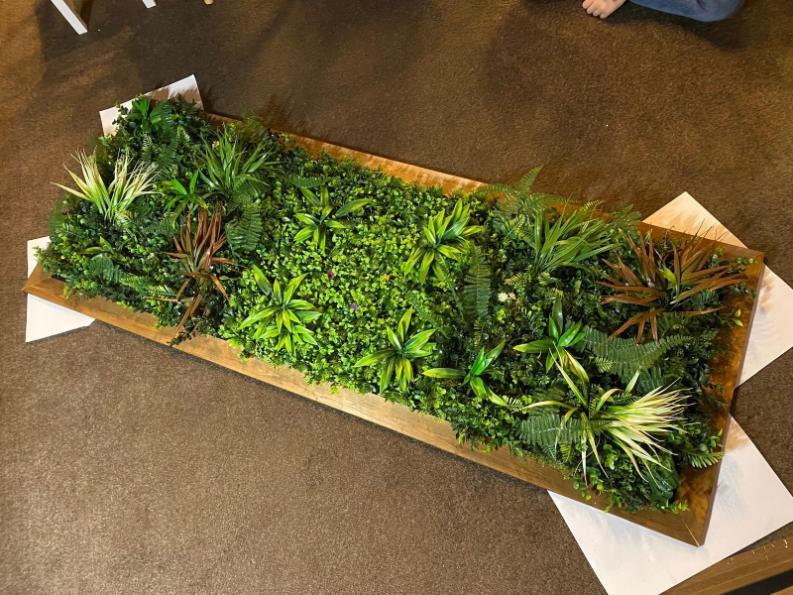
The finished result
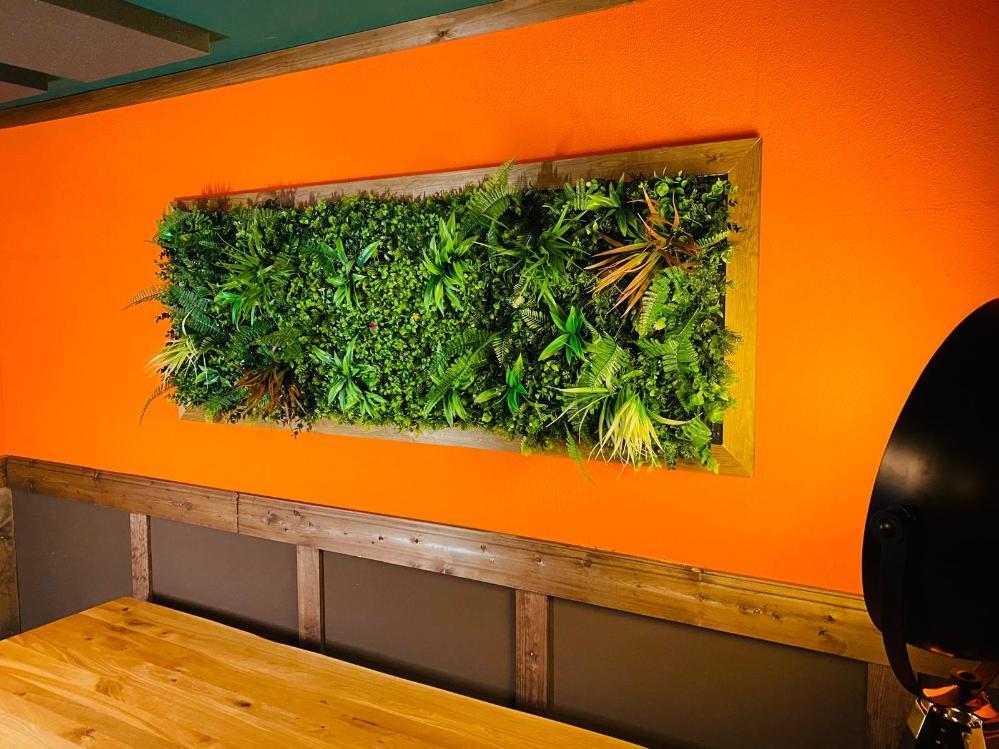
The completed artificial green wall panel provides an impressive focal point that draws immediate attention. The three-dimensional foliage effect creates visual depth and interest while requiring zero maintenance.
The project demonstrates how basic materials and straightforward construction techniques can produce professional-looking results. Most visitors assume the panel cost considerably more than the actual £90-120 build expense.
Beyond aesthetic appeal, the panel offers practical benefits including sound absorption properties and the ability to quickly transform plain walls into engaging feature areas.
Creating your perfect green wall panel
Building your own artificial green wall panel offers complete control over size, appearance, and cost while providing an engaging weekend project with impressive results. The basic frame and foliage approach scales to any dimension and adapts to various interior styles.
The construction process requires only fundamental DIY skills and readily available materials. Most builders find the project surprisingly straightforward, with the main time investment in planning foliage layout and allowing proper drying time for adhesives and finishes.
Whether creating a single statement piece or planning multiple panels for larger installations, this approach delivers professional-looking artificial living walls at a fraction of commercial pricing.
Ready to start your green wall project?
Explore our range of wall panels and accessories to bring your vertical garden vision to life.