Posted by Wall Panels World on 29th Aug 2024
How To Paint Wall Panelling | Wooden & MDF Techniques | Repainting
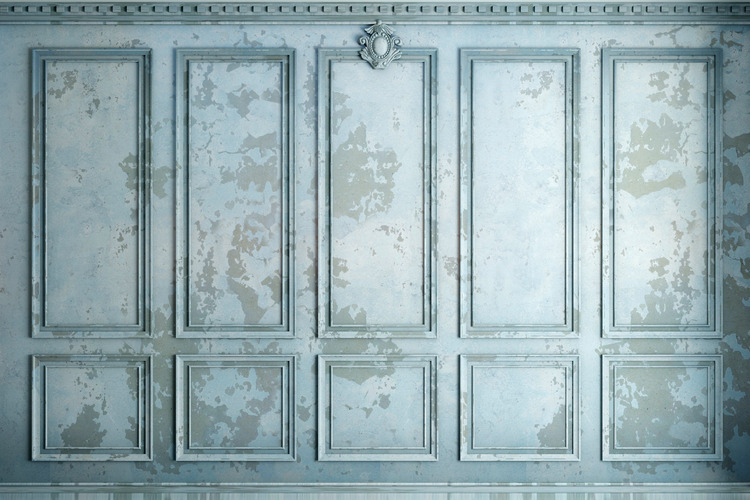
Painting Wall Panelling | Wooden & MDF Techniques
Wall panelling is having its renaissance moment in interior design. New shapes, composite materials and customisation options have allowed wall panelling to become mainstream. Whether you're looking to refresh your existing panelling or starting a new DIY panelling project, this guide will equip you with all the knowledge and techniques you need to achieve a professional paint finish.
Why Paint Wall Panelling?
Painting wall panelling is a simple yet effective way to:
- ✓ Refresh outdated or worn wood
- ✓ Add character and depth to a room
- ✓ Create a focal point or feature wall
- ✓ Brighten up dark spaces
- ✓ Protect and extend the life of your panelling
What You'll Need
Tools:
- • Sandpaper (various grits)
- • Electric sander (optional)
- • Paint brushes and rollers
- • Paint trays
- • Dust sheets
- • Masking tape
- • Stepladder (optional)
Materials:
- • Primer
- • Paint (satin or eggshell finish recommended)
- • Wood filler (if needed)
- • Cleaning supplies
- • TSP cleaner
- • Overpaintable Caulk and caulking gun (optional)
Step-by-Step Guide
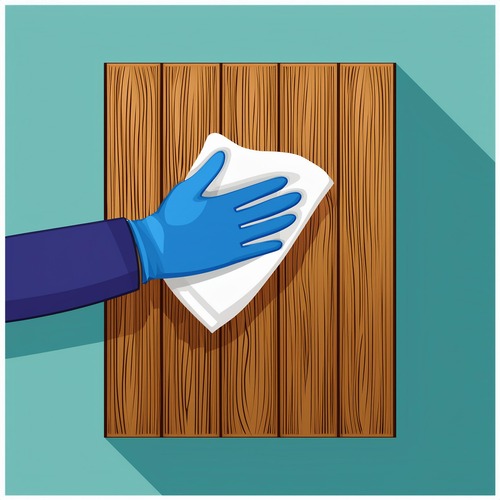
Step 1: Clean the Surface
- Prepare a solution of TSP cleaner mixed with warm water.
- Wearing gloves, use a sponge or cloth to apply the solution to the wall panelling, scrubbing gently to remove dirt, grease, and grime.
- Be thorough, especially in corners and around trim where dust and dirt can accumulate.
- Rinse the surface with clean water and allow it to dry completely before moving on to sanding. (Do not over-saturate MDF with water as it is not waterproof - ensure to dry as soon as possible)
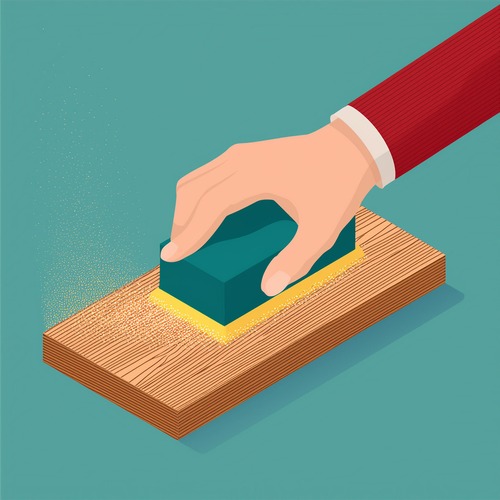
Step 2: Sand the Panelling
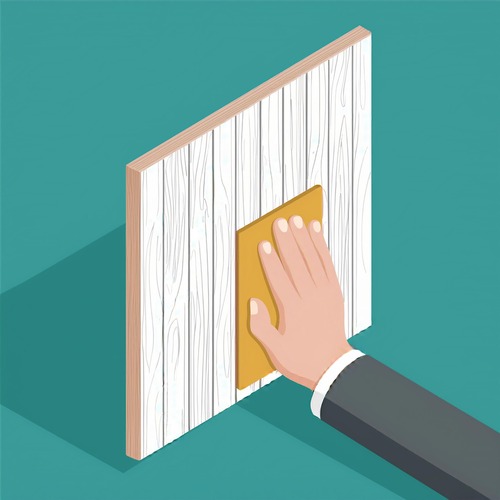
- For wood panelling, use medium-grit sandpaper (120-150 grit) to lightly sand the surface, following the grain of the wood to avoid scratches.
- For MDF (Medium-Density Fibreboard) panelling, use fine-grit sandpaper (180-220 grit) as MDF is more prone to surface damage.
- Consider using an electric sander for larger areas, but be gentle to avoid sanding too deeply.
- After sanding, use a tack cloth to remove all dust from the surface.
Pro Tip: Be especially careful around edges and corners where the finish can wear away more easily during sanding.
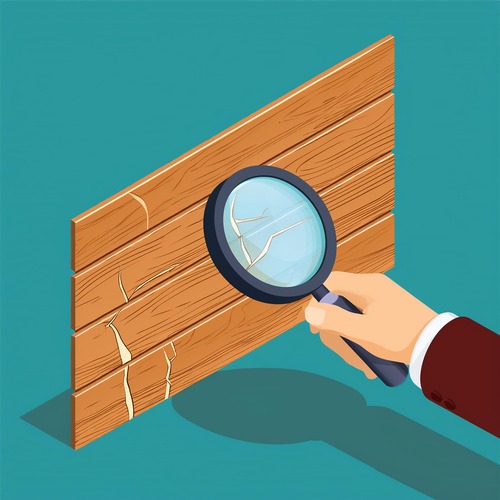
Step 3: Repair and Fill Imperfections
- Inspect the panelling for any cracks, holes, or gaps.
- For wood panelling, use wood filler to fill these imperfections. Apply the filler with a putty knife, pressing it firmly into the cracks and holes. Slightly overfill the area to allow for shrinkage as it dries.
- Once the filler is dry, sand the area smooth with fine-grit sandpaper (220 grit) to match the surrounding surface.
- If working with MDF, use a filler designed specifically for MDF, as standard wood fillers may not adhere properly.
- Use a caulking gun to apply caulk along any seams or gaps between the panels and where the panelling meets the ceiling or floor.
- Smooth the caulk with a wet finger or a caulk smoothing tool for a seamless finish.
- After sanding, wipe down the area with a damp cloth to remove any remaining dust, ensuring a clean surface for priming.
Step 4: Apply Primer
- Ensure all surfaces are clean and smooth before applying primer.
- Use a high-quality primer suitable for wood or MDF panelling.
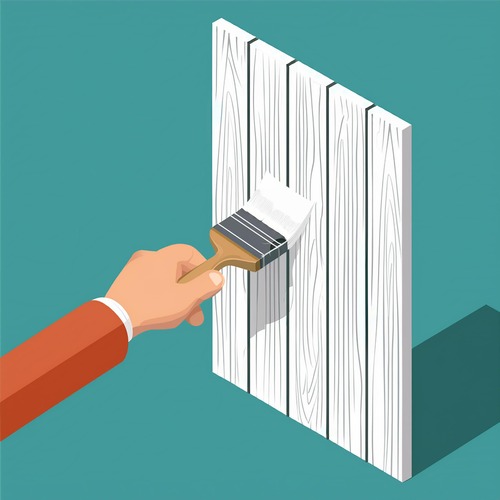
- Begin by cutting in around edges, trim, and corners using a small angled brush. This allows you to reach detailed areas like grooves between panels and the edges of the trim.
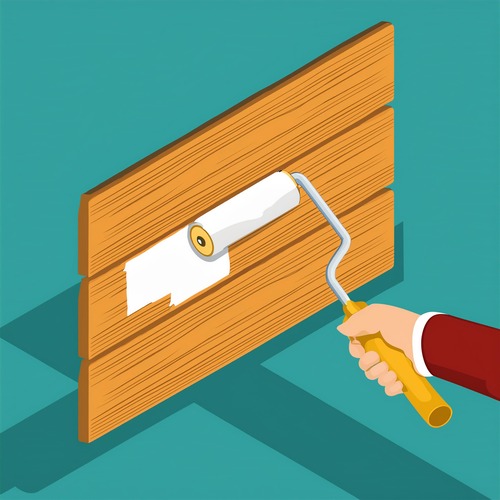
- For the larger flat surfaces, use a roller with a low nap (¼-inch) to apply an even coat of primer, working in long, smooth strokes.
- Be sure to cover the entire surface uniformly to avoid any missed spots.
Pro Tip: Allow the primer to dry completely (usually 2-4 hours) before lightly sanding it with fine-grit sandpaper (220 grit) to ensure a smooth surface for painting.
Step 5: First Coat of Paint
- With the primer dry and sanded smooth, you’re ready to apply the first coat of paint.
- Start by cutting in with a brush around the edges, corners, and trim, just as you did with the primer.
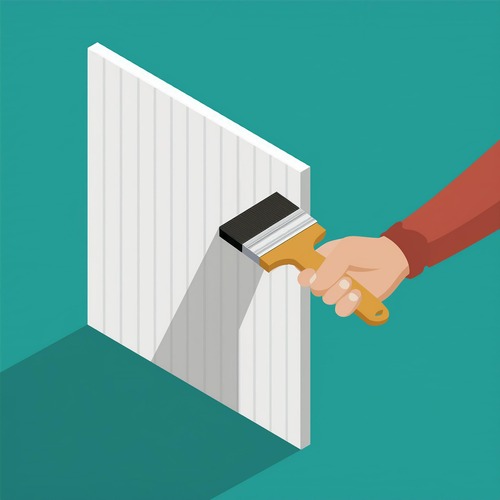
- Use a roller for the larger surfaces, opting for a low nap roller to avoid leaving too much texture on the panelling.
- Apply the paint in thin, even coats, working in sections to maintain a wet edge, which prevents visible lap marks.
- Follow the wood grain for the best finish, even if painting MDF, to mimic the appearance of natural wood.
Pro Tip: Avoid overloading your brush or roller with paint; thin coats will dry faster and provide a smoother finish.
Step 6: Sand Between Coats
- After the first coat of paint has dried completely (typically 4-6 hours), lightly sand the surface with fine-grit sandpaper (220 grit).
- This step removes any imperfections or dust particles that may have settled into the paint, ensuring a smooth base for the next coat.
- Be gentle to avoid sanding through the paint.
- Wipe down the surface with a tack cloth to remove all dust before applying the next coat.
Pro Tip: Sanding between coats is especially important for achieving a professional-looking finish, particularly on smooth surfaces like MDF.
Step 7: Apply Additional Coats
- Apply at least one more coat of paint, using the same techniques as in the first coat—cutting in with a brush around edges and using a roller for the larger areas.
- Depending on the colour and type of paint, you may need additional coats to achieve full coverage.
- Ensure each coat is fully dry before applying the next one.
- For a high-quality finish, consider lightly sanding between coats as you did before.
Pro Tip: If you’re using a satin or eggshell finish, this step will enhance the depth and richness of the colour.
Step 8: Finishing Touches
- Once the final coat of paint is dry, carefully remove the masking tape at a 45-degree angle to avoid pulling off any paint.
- Inspect the surface for any missed spots or imperfections, and touch these up with a small brush.
- Reattach any hardware, switch plates, or trim that was removed.
- Enjoy the fresh new look of your wall panelling.
Pro Tip: For the first few weeks, avoid cleaning the painted surface too vigorously to allow the paint to fully cure and harden.
Choosing the Right Paint
The type of paint you choose can make a significant difference in both the appearance and durability of your painted panelling. Here are some recommendations, along with the reasons why certain finishes are better suited for panelling:
- ★ Satin Finish: Offers a subtle sheen and is easy to clean, making it ideal for high-traffic areas. Satin is also effective in hiding imperfections on the surface, making it a great choice for panelling that may not be perfectly smooth.
- ★ Eggshell Finish: Provides a soft, low-lustre appearance that's perfect for a more traditional look. Eggshell is less reflective than satin, which makes it a good option for walls and panelling that may have minor imperfections.
- ★ Semi-Gloss: Highly durable and easy to clean, making it suitable for kitchens, bathrooms, and other areas where moisture or frequent cleaning is expected. Semi-gloss also adds a bit more shine, which can highlight the architectural features of your panelling.
- ★ Matte Finish: Although less common for panelling, matte finishes offer a non-reflective surface that can be ideal for creating a more subdued, elegant look. However, matte finishes are less durable and can be harder to clean, so they are best used in low-traffic areas or where a more traditional look is desired.
Paint Selection Tips
- Consider using a hardwearing paint specifically designed for woodwork, especially in high-traffic areas. These paints often have enhanced durability and washability, making them ideal for panelling.
- Test your chosen colour on a small, inconspicuous area first to ensure you're happy with the result. Lighting and surrounding colours can significantly affect the appearance of the paint.
- Trending Colours for 2024: Soft greens, warm neutrals, and bold blues are popular choices for painted panelling, offering a mix of traditional and contemporary styles.
Advanced Techniques
Two-Tone Panelling
Create visual interest by painting the recessed areas a different colour from the raised sections. This technique can add depth and sophistication to your space.
Colour Drenching
For a bold, contemporary look, paint your panelling, walls, and trim in the same colour. This creates a cohesive and striking aesthetic.
Caring for Your Painted Panelling
- Wait at least two weeks before cleaning the newly painted surface to allow it to fully cure.
- Clean gently with a soft, damp cloth and mild soap when needed.
- Avoid harsh chemicals or abrasive cleaning tools.
- Touch up any chips or scratches promptly to maintain the look and protect the wood underneath.
- Dust regularly with a soft, dry cloth.
Troubleshooting Common Issues
Dealing with Challenges
- Paint peeling or bubbling
- This is often due to inadequate surface preparation. Strip the affected area, sand thoroughly, and start again with proper priming.
- Visible brush strokes
- Use a high-quality brush and thin your paint slightly if necessary. Apply paint in long, smooth strokes and avoid overworking the surface.
- Bleed-through from knots
- Apply a stain-blocking primer specifically to knots before priming the entire surface. You may need multiple coats for stubborn knots.
- Uneven colour or coverage
- Ensure you're applying thin, even coats and allowing proper drying time between coats. You may need an additional coat for full coverage.
Final Thoughts
Painting wall panelling is a rewarding DIY project that can dramatically transform your space. With proper preparation, quality materials, and attention to detail, you can achieve a professional-looking finish that will stand the test of time. Remember, patience is key – take your time with each step, and don't rush the drying process between coats. When painting door panels, consider a flexible paint to endure the constant movement.
Whether you're aiming for a classic, timeless look or a bold, contemporary statement, painted panelling offers endless possibilities to express your style and enhance your home's interior.
Ready to start your panelling project? We'd love to see your results! Share your before and after photos with us on social media using #WallPanelsWorld.
Remember, while this guide provides comprehensive advice, always refer to specific product instructions and safety guidelines when working with paints and tools. Happy painting!