Posted by Wall Panels World on 15th Jul 2025
Fitting Wall Panels Over Tiles | Make Sure To Sand Them
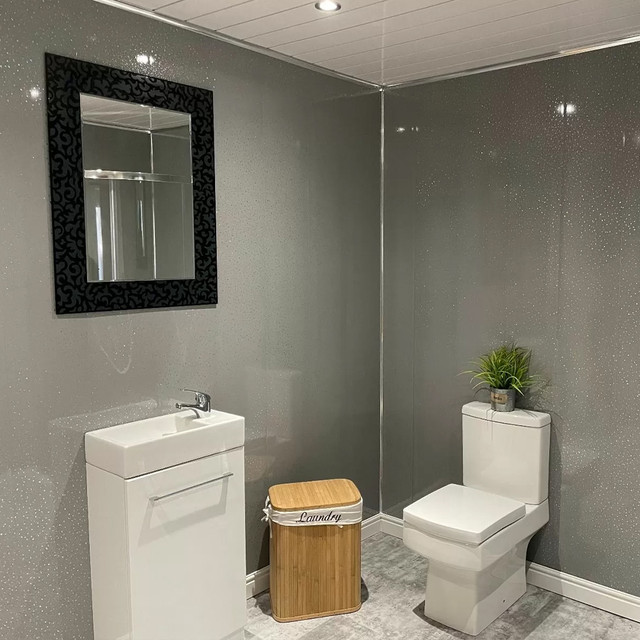
Installing wall panels over existing tiles saves time, mess, and money. It works well in most bathrooms, but success depends on proper preparation and understanding what you're working with.
Most wall panels are well designed to install directly over tiles. The tiles actually provide a good, flat surface for adhesion when prepared correctly, compared to bare walls.
Can you install panels over your tiles?
Yes, in most cases. Wall panels can be installed over tiles provided they're stable, flat, and properly prepared. This approach eliminates the noise, dust, and debris (& cost) of tile removal whilst achieving the same end result.
The process works because tiles create a uniform surface that's ideal for panel adhesion. Unlike uneven plaster or damaged walls, tiles provide consistent thickness and flatness that panels require.
What you need to check first
Before ordering bathroom panels, assess your existing tiles. Press firmly across different areas to check for movement. Look for cracks, loose sections, or areas where grout has failed. Any movement indicates potential problems.
✓ Good to go
- • Tiles firmly attached
- • Surface reasonably flat
- • No loose or missing tiles
- • Grout lines intact
✗ Needs attention
- • Hollow sound when tapped
- • Movement when pressed
- • Cracked or damaged tiles
- • Failed grout lines
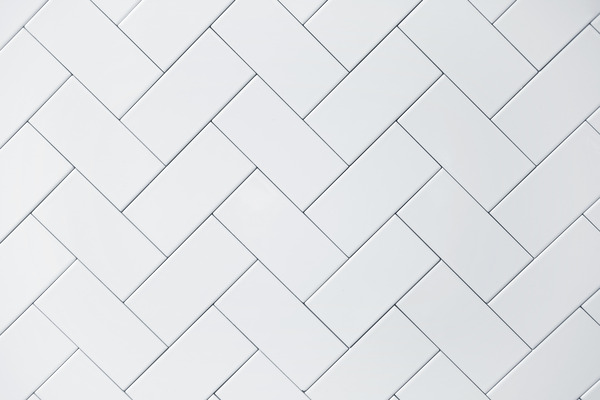
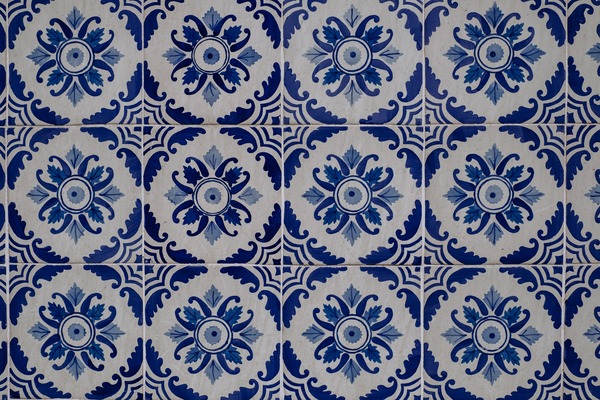
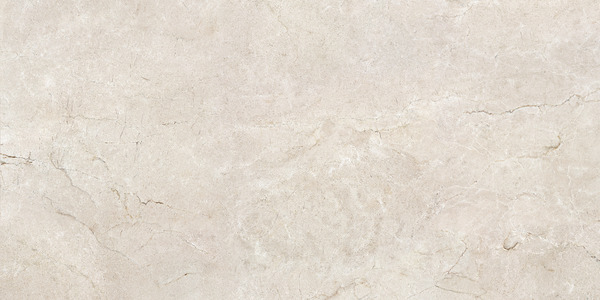
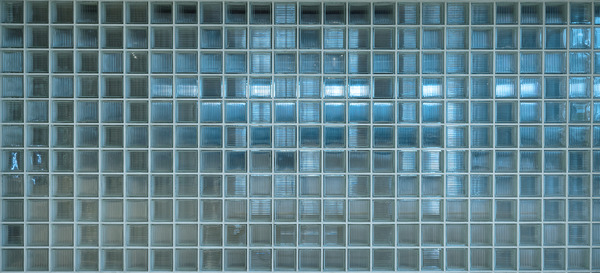
Different tile types
The type of tile affects your preparation method. Each material has different surface properties that influence how well panels will adhere.
Preparing tiles for panels
Proper preparation is crucial for long-term success. The time spent on this stage determines how well your panels will adhere and perform over time.
Cleaning process
- Use hot water to open ceramic pores and remove surface dirt
- Apply mild household cleaner to remove soap residue and grime
- Scrub with sponge, paying attention to grout lines
- Rinse thoroughly with clean water
- Allow to dry completely before applying panels
Sanding or sealing tiles
Most tiles benefit from light sanding to improve adhesion. This removes the glazed surface that can be too smooth for optimal bonding. On the contrary, some tiles are too porous, and may need sealing with primer beforehand.
Glossy tiles
Light sanding with fine-grit paper removes glaze and creates texture for better adhesion. Work systematically across the surface.
Porous tiles
Apply primer designed for tile surfaces. This prevents adhesive absorption and creates a stable base for panels.
Thickness and space impact
Adding panels over tiles increases wall thickness by 14-20mm typically. This affects fixture positioning and room dimensions, particularly in smaller bathrooms.
Space calculation example
For the smallest bathrooms, consider 5mm panels to minimise space loss. The installation process remains identical, but you preserve more usable area.
How to install wall panels over tiles
The installation process follows standard panel fitting with additional preparation steps. Work methodically through each stage for best results.
Tools needed
Preparation
- Fine sandpaper
- Degreasing cleaner
- Microfibre cloths
Installation
- Panel adhesive
- Silicone sealant
- Spirit level
Cutting
- Fine-tooth saw
- Sharp utility knife
- Measuring tape
Step-by-step process
Clean and prepare tiles
Remove all grease, soap residue, and grime. Allow to dry completely.
Sand glossy surfaces
Lightly sand smooth tiles to create texture. Clean away all dust.
Test adhesion
Apply a small panel section to test bond strength before full installation.
Apply adhesive
Use zigzag pattern on panel back. Work with one panel at a time.
Position and press
Align carefully and press firmly. Use steady, even pressure.
Seal edges
Apply silicone sealant around all panel edges for waterproofing.
Common problems and solutions
Most issues stem from inadequate preparation or unrealistic expectations. Understanding potential problems helps avoid them.
Adhesion failure
Usually caused by insufficient cleaning or wrong adhesive choice. Test a small area first and use products specifically designed for tile-to-panel bonding.
Moisture issues
Ensure all grout lines are sound and seal panel edges thoroughly. Good bathroom ventilation prevents condensation buildup.
Visible tile lines
Thick tiles or deep grout lines may show through thin panels. Consider thicker panels or additional surface preparation.
Frequently asked questions
Will panels stick to any tile type?
Most tiles work well with proper preparation. Very textured or extremely porous tiles may need additional treatment.
What if I have loose tiles?
Loose tiles must be re-secured or replaced before panel installation. The installation relies on a stable base.
How long do panels last over tiles?
With proper installation, panels should last 15-20 years. The key is thorough preparation and quality adhesive.
Can I remove panels later?
Yes, but it requires careful work with a heat gun and scraper. Some tile damage is possible during removal.
What about bathroom fixtures?
Account for additional thickness when positioning fixtures. Measure carefully and consider using deeper mounting brackets.
Making the right choice
Installing panels over tiles works well when done properly. It saves the mess and expense of tile removal while achieving a fresh, modern look.
Success depends on honest assessment of your existing tiles and thorough preparation. Take time to clean and prepare the surface properly - it's the foundation of a lasting installation.
Consider your expectations carefully. Panels offer easy maintenance and quick installation, but they won't look exactly like tiles. Choose based on your priorities and bathroom usage.
Ready to Start Your Project?
Browse our range of bathroom wall panels suitable for installation over tiles.
Shop Bathroom Wall Panels