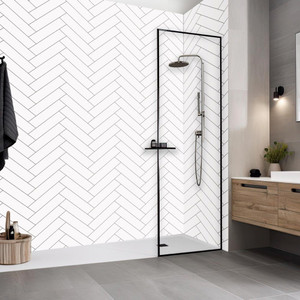
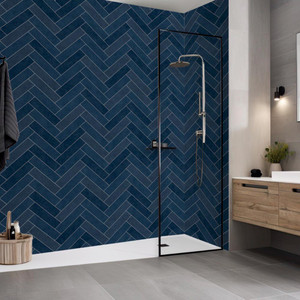
How to install shower wall panels (interlocking tongue and groove method)
1. Prepare the walls. Make sure the walls are clean, dry, and free of any debris. Fill in any holes or cracks with a suitable filler.
2. Cut the panels to size. Use a sharp saw to cut the panels to the required size. Be sure to measure carefully and allow for gaps between the panels and the wall.
3. Mark the starting point. Use a pencil to mark the starting point for the first panel. This is usually in the bottom corner of the shower enclosure.
4. Apply adhesive to the wall. Apply a thin layer of adhesive to the wall using a notched trowel.
5. Position the first panel. Carefully position the first panel on the wall, ensuring that the tongue is facing the starting point.
6. Press the panel into place. Press the panel firmly into place, ensuring that it is level and plumb.
7. Repeat steps 3-6 for the remaining panels. Continue applying adhesive and positioning the panels until the entire shower enclosure is covered.
8. Allow the adhesive to dry. Allow the adhesive to dry completely before using the shower.
How to cut shower wall panels
To cut shower wall panels, you can use a sharp saw, such as a circular saw or jigsaw. Be sure to use a saw blade that is specifically designed for cutting PVC.
When cutting shower wall panels, it is important to measure carefully and allow for gaps between the panels and the wall. It is also important to make sure that the panels are cut square.
How to remove shower wall panels without damaging
To remove shower wall panels without damaging them, you will need to use a heat gun or hair dryer. Heat the panels gently until the adhesive softens. Once the adhesive is soft, you can carefully remove the panels from the wall.
If you are using a heat gun, be careful not to overheat the panels, as this could damage them. If you are using a hair dryer, use the highest heat setting.
Once the panels have been removed, you will need to clean the adhesive residue from the wall. You can do this using a solvent or a scraper.


