Posted by Wall Panels World on 15th Nov 2024
How To Panel A Staircase Wall | DIY Calculator | Dado Rail & Panel Moulding

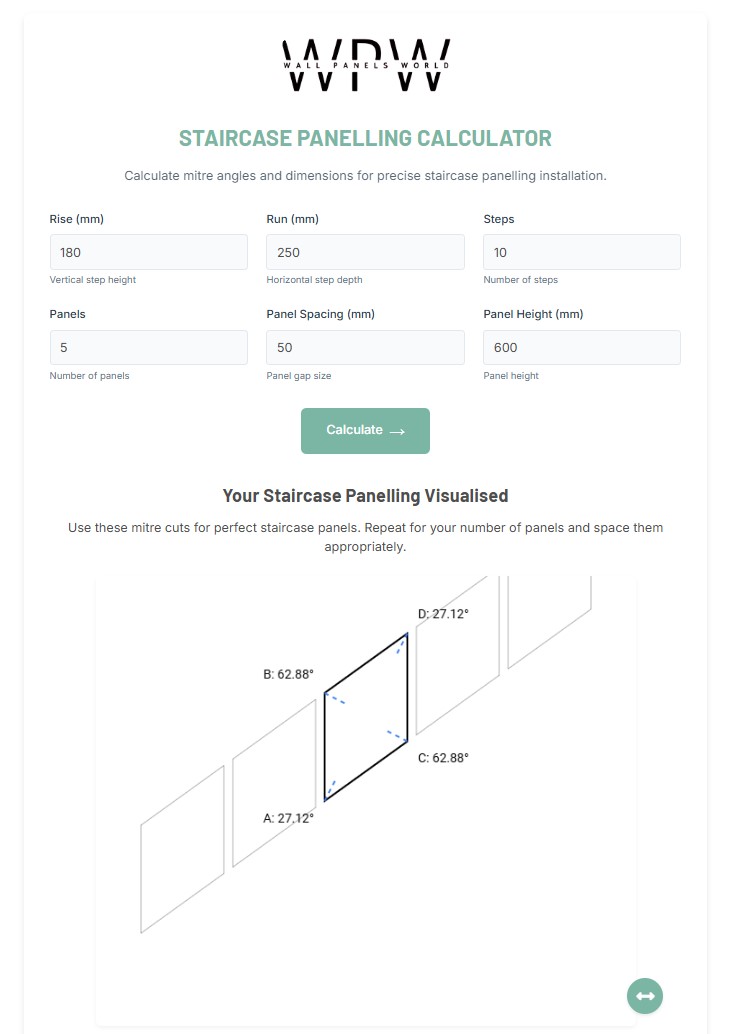
Staircase Panelling Calculator
Calculate mitre angles and dimensions for precise staircase panelling installation.
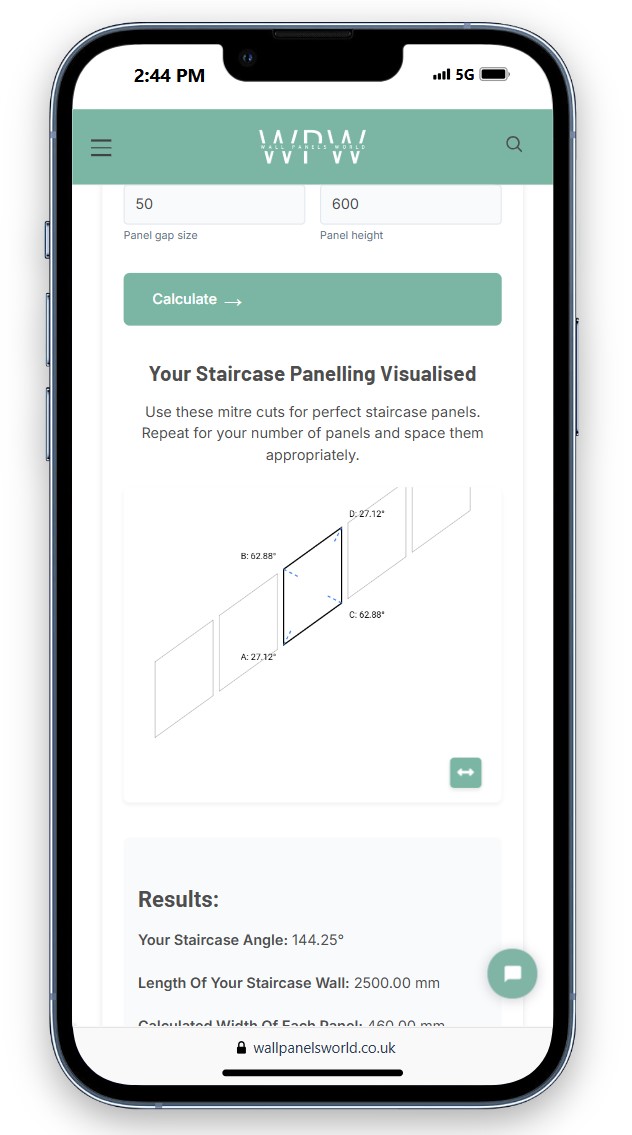
Your Staircase Panelling Visualised
Use these mitre cuts for perfect staircase panels. Repeat for your number of panels and space them appropriately.
Guide to Panelling a Staircase Wall
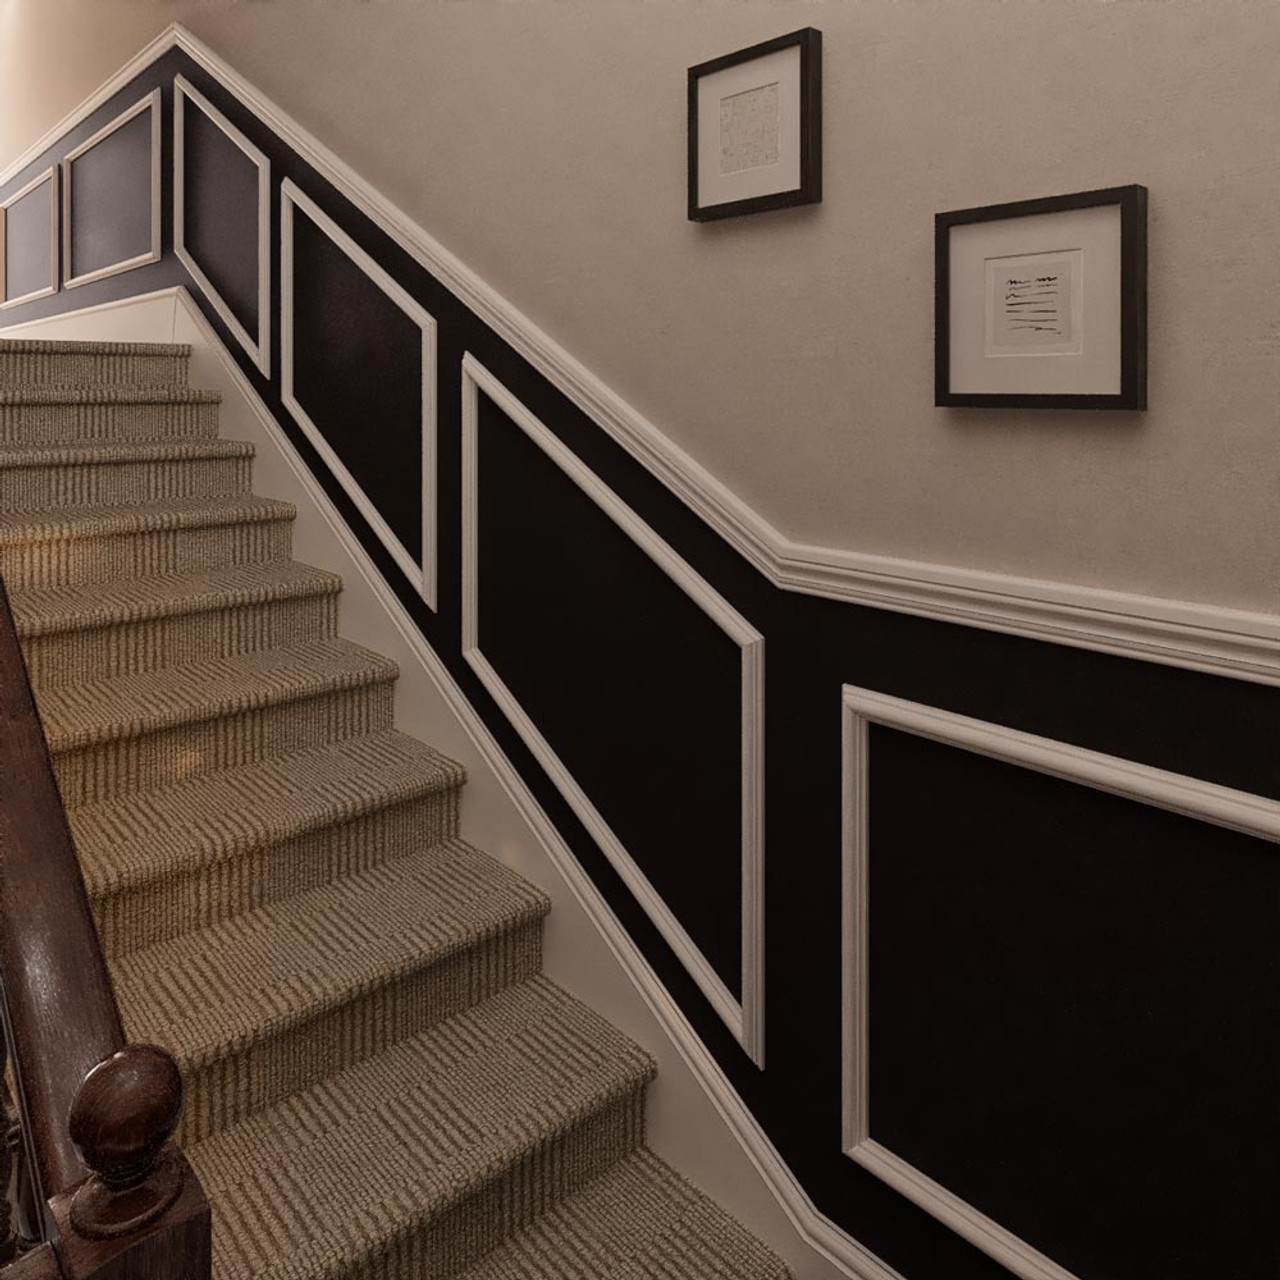
This guide will walk you through the process of installing elegant panelling on your staircase wall, step-by-step. You will learn how to measure, calculate, and install panels with precision, ensuring a professional finish.
Shop Staircase PanellingStep 1: Measuring and Planning
Accurate measurements are crucial for a successful installation. Begin by measuring the *rise* (vertical height) and *run* (horizontal depth) of one step. These values, along with the number of steps, will be used to calculate the total length of the wall and the staircase pitch angle. Use these measurements in the calculator tool to get precise values for your project.
- Rise: Measure the vertical distance from the top of one step to the top of the next.
- Run: Measure the horizontal distance from the front of one step to the front of the next, excluding any overhang.
- Step Count: Enter the total number of steps in your staircase to calculate the wall length and pitch angle.
Step 2: Calculating Panel Details
After entering the measurements into the calculator, it will determine the staircase pitch angle, wall length, and the width of each panel. This tool will also calculate the mitre angles needed for the dado rail and each corner of the panel moulding, ensuring a precise fit.
- Panel Count: Enter the number of panels you want along the staircase wall.
- Panel Spacing: Define the spacing between panels for a balanced appearance.
- Panel Height: Enter the desired height of the panels. This input is optional but make the visualisation below more representative. The height of your panelling doesn't affect the angles.
Feel free to experiment with panel count and spacing, this will determine your final panel width along your staircase wall, which you may wish to extend to your landing and hallway.
Step 3: Preparing and Cutting the Panels and Mouldings
Using the calculated angles and measurements, you can begin cutting the dado rail and panel mouldings. Precision is key in this step to ensure all pieces fit together seamlessly.
- Dado Rail: Start by cutting the dado rail to match the calculated mitre angles. Install it at a consistent height, typically around 1 meter from the floor, following the staircase incline. Remember, the angle that the dado rail pitches upwards, is the same angle that your staircase pitches upwards, the mitre angle is half of this, our calculator will provide the correct mitre angles. For the second dado rail mitre angle, you need to invert the cut as it transitions from the angled plane onto the horizontal plane of your landing.
- Panel Mouldings: Cut the mouldings for the panels based on the mitre and joint angles provided. Ensure all cuts are precise and consistent. We recommend cutting your panel moulding at once, then pre-fabricating the panels before attaching them to the wall.
- Pre-Assembly: You can pre-assemble the panels on a flat surface, gluing them together with adhesive before placing them on the wall, or assemble them directly on the wall during installation.
Step 4: Installing the Panels
Begin by fixing the dado rail along the marked line, then attach the panels one by one. Use adhesive to secure each piece to the wall, and panel pins or small nails for additional support if needed.
- Fixing Panels: Apply adhesive to the back of each panel piece and position it on the wall. Start with the bottom piece, ensuring it aligns with the stair tread.
- Securing Panels: Use a spirit level to check alignment of the vertical side pieces of each panel and secure each panel with panel pins or nails as necessary.
- Spacing: Maintain consistent spacing between panels, the dado rail, and the skirting. Use pre-cut spacers to help with uniformity.
Step 5: Finishing Touches
Once all panels are securely in place, it's time to finish the job. Fill any gaps with caulk, sand the surfaces smoothly, and then paint the panels and dado rail with your chosen color.
- Caulking: Apply caulk along the edges of the panels to fill any gaps between the panels and the wall, and smooth the caulk with a damp finger or a caulking tool for a professional finish.
- Sanding: Lightly sand any rough areas, joints, or filled sections to ensure a smooth surface for painting.
- Painting: Prime the panels first, especially if you're working with MDF, to prevent moisture absorption. Then apply two coats of your chosen paint color, ensuring each coat dries fully between applications.
Tips for a Professional Finish
- Use Templates for Angles: Create cardboard or wood templates for complex cuts and mitre angles to ensure accuracy before cutting the actual mouldings.
- Consistent Spacing: Keep a uniform gap between panels, using spacers to maintain equal distances between each one and the skirting. This will make the installation look balanced and professional.
- Check for Alignment Regularly: Continuously use a spirit level and tape measure throughout the installation to avoid misalignments.
- Opt for High-Durability Paint: Choose a paint finish that is durable and easy to clean, such as eggshell or satin, as staircases are high-traffic areas.
- Primer is Essential: MDF panels should always be primed before painting to prevent moisture absorption and to create a smooth finish.
- If panelling doors, you can use our door panelling creator and guide to find the best dimensions.
Optimised For Mobile And Desktop


