Posted by Wall Panels World on 10th Apr 2025
How To Install Wall Panels Without Adhesive | Screws, Nails, Pins
Learn how to securely mount wall panels without adhesive, preserving your wall surfaces while creating stunning interiors with these practical, reversible methods.
While construction adhesive remains a popular choice for wall panel installation, there are compelling reasons to consider mechanical fixing methods instead. Whether you're renting and need a temporary solution, want the flexibility to remove panels later, or simply prefer a cleaner installation process, adhesive-free techniques offer practical advantages for your interior projects.
In this comprehensive guide, we'll explore reliable methods for installing various types of wall panels from PVC to MDF without relying on adhesive. We'll cover the tools required, step-by-step installation processes for different panel types, and professional tips to ensure your panels remain secure and look impeccable.
Why Consider Adhesive-Free Installation
While adhesives provide a strong bond, mechanical fixings offer distinct advantages that make them worth considering for your wall panel project:
Mechanical fixings allow panels to be removed or repositioned without damaging the underlying wall surface, particularly valuable in rental properties or when you anticipate future changes.
Preservation of Wall Surfaces
Strong construction adhesives bond so effectively that removing panels later inevitably damages wall surfaces, often tearing away paint, plaster, or even sections of plasterboard. Mechanical fixings leave only small, easily repairable holes.
No Curing Time or Fumes
Mechanical installations are ready immediately, with no waiting for adhesive to cure or reach full strength. This expedites project completion and avoids the potential release of volatile organic compounds (VOCs) from solvent-based adhesives.
Accommodation for Material Movement
Natural materials like wood and MDF expand and contract with changes in humidity and temperature. Mechanical fixings allow for this natural movement without stressing the panel, preventing issues like buckling or warping that can occur with rigid adhesive bonds.
Long-Term Durability
While modern adhesives offer strong bonds, mechanical fixings such as screws, nails, or robust clip systems provide exceptional long-term stability, less susceptible to degradation over time compared to some adhesives.
Essential Tools & Materials
Successful adhesive-free installation requires the right equipment. Here's what you'll need:


Fixings & Hardware
Choosing the right fixings is crucial for secure, long-lasting installation.
Select fixings appropriate for both your panel material and wall type. We'll cover specific recommendations for different scenarios throughout this guide.
For PVC Panels
- Small-headed panel pins
- Stainless steel screws (non-corrosive)
- Plastic screw caps (colour-matched)
- Hollow wall anchors (for plasterboard)
For MDF Panelling
- Panel pins or brad nails
- Countersunk wood screws
- Wall plugs (for masonry walls)
- Timber battens (for uneven walls)
Primary Installation Methods
There are several proven techniques for installing wall panels without adhesive. Here, we'll explore the most effective methods for different panel types and scenarios.


Your choice of method will depend on several factors: the panel type, wall condition, desired finish, and whether you need the installation to be permanent or removable. In the following sections, we'll provide detailed guidance for common scenarios.
Wall Preparation
Proper wall preparation is essential for secure adhesive-free installation. Unlike adhesives that can compensate for minor imperfections, mechanical fixings often require more attention to the underlying surface.
The quality of your panel installation is only as good as the surface beneath it.
Take time to prepare your walls properly, it will ensure a smoother installation process and better long-term results.
General Preparation Principles
Clean & Assess
Remove any dust, grease, or loose material from the wall. Check for damaged plaster, damp issues, or uneven sections that may need repair before proceeding.
Level Check
Use a spirit level and straight edge to identify any significant unevenness. For walls with variations greater than 5mm, consider using battens to create a level fixing surface.
Locate Solid Fixing Points
For plasterboard walls, locate and mark studs for secure fixing. For masonry walls, identify sound areas for drilling and plugging. Avoid areas with crumbling plaster or loose brick.
Plan Panel Layout
Mark the position of panels on the wall, ensuring they align with fixing points where possible. Consider how the panels will meet corners, windows, and sockets, planning any necessary cuts in advance.
Addressing Common Wall Types
Plaster on Brick (Common in UK)
This traditional wall construction provides excellent support for mechanical fixings. Use a detector to locate any hidden services, then drill with an appropriate masonry bit and insert wall plugs suitable for the brick substrate.
For fixing lightweight panels, you may be able to secure them with appropriately sized screws directly into sound plaster, but for heavier items, always fix into the brick with proper wall plugs.
Plasterboard/Drywall
When fixing to plasterboard, locate studs where possible and drive screws directly into these for maximum strength. Where studs aren't available, use appropriate hollow wall anchors designed for plasterboard.
Never rely on screws directly into plasterboard without special anchors, they'll quickly pull out under load. For heavy panels, consider adding a framework of battens securely fixed to studs.
Dealing with Uneven Walls
For significantly uneven walls, common in older properties, consider installing sheets of 6mm MDF as a base layer to create a smooth, consistent surface. Secure these to the wall first, then mount your panels on top.
Alternatively, install vertical or horizontal battens (depending on panel orientation), using packers or shims where needed to create a level plane across the entire wall surface.
Installing PVC Panels Without Adhesive
PVC wall panels are lightweight, water-resistant, and relatively easy to work with. While often installed with adhesive, they can be effectively mounted using mechanical fixings, particularly useful in bathrooms or areas with high humidity where adhesives might fail.

Tongue & Groove PVC Panel Installation
Many of our PVC panels feature tongue and groove profiles designed for interlocking installation. This system provides a waterproof seal between panels and allows for secure mechanical fixing without visible fasteners on the panel face.
When installed correctly, T&G PVC panels create a seamless, professional-looking surface ideal for bathrooms, kitchens, and other areas where water resistance is paramount.
Step-by-Step: Direct Fixing PVC Panels
Measure & Cut Panels
Measure your wall area and cut panels to size using a fine-toothed saw. For intricate cuts around outlets or pipes, use a jigsaw. Always measure twice and cut once.
Tip: Leave a 5mm expansion gap around the perimeter to allow for temperature fluctuations, PVC expands and contracts more than other materials.
Position First Panel
Start in a corner or at one end of the wall. Using a spirit level, ensure the panel is perfectly level and plumb. For tongue and groove panels, position with the groove edge facing the corner.
Tip: For T&G panels, you may need to trim off the tongue on the first panel if it's going against a corner or edge.
Secure Panel to Wall
For direct fixing, drill pilot holes through the panel along the edge that will be covered by trim or the next panel. Use stainless steel screws with small heads, ensuring they're long enough to penetrate the wall but not so long they hit any services.
Tip: For plaster on brick walls, drill through and use appropriate wall plugs. Space fixings approximately every 300-400mm.
Install Subsequent Panels
For T&G panels, slot the groove of the next panel over the tongue of the installed panel. Apply pressure until fully engaged. Secure along the free edge as with the first panel. Continue this process across the wall.
Tip: A rubber mallet and scrap piece of wood can help tap panels together without damaging the edges.
Finishing Touches
Install appropriate trims around the edges, in corners, and where panels meet other surfaces. These can be secured with small panel pins or screws. For a waterproof finish in wet areas, seal edges with silicone sealant.
Tip: Use colour-matched trims and sealant for a professional finish. Our PVC panel ranges include coordinating trims for a complete installation.
Alternative: Batten Installation for PVC Panels
For uneven walls or when you want to create a void for insulation or services, installing PVC panels on battens provides an excellent solution:
- Prepare Battens: Cut timber battens (typically 25mm × 38mm) to fit horizontally across your wall at 400mm intervals. For vertical panel installation, position battens vertically.
- Fix Battens to Wall: Secure battens to the wall using appropriate screws and plugs. Use a spirit level to ensure they're perfectly straight, adding packers behind if needed to create a flat plane.
- Install First Panel: Position the first panel against the battens, checking for level and plumb. Secure the panel to the battens with stainless steel screws or panel pins.
- Continue Installation: For T&G panels, interlock the next panel and secure to the battens. Continue until the wall is covered.
- Add Trims: Complete the installation with appropriate trims and sealant as needed.
This batten method is particularly effective for older properties with very uneven walls, or in situations where you want to improve insulation by filling the void with appropriate materials.
Installing MDF Wall Panelling Without Adhesive
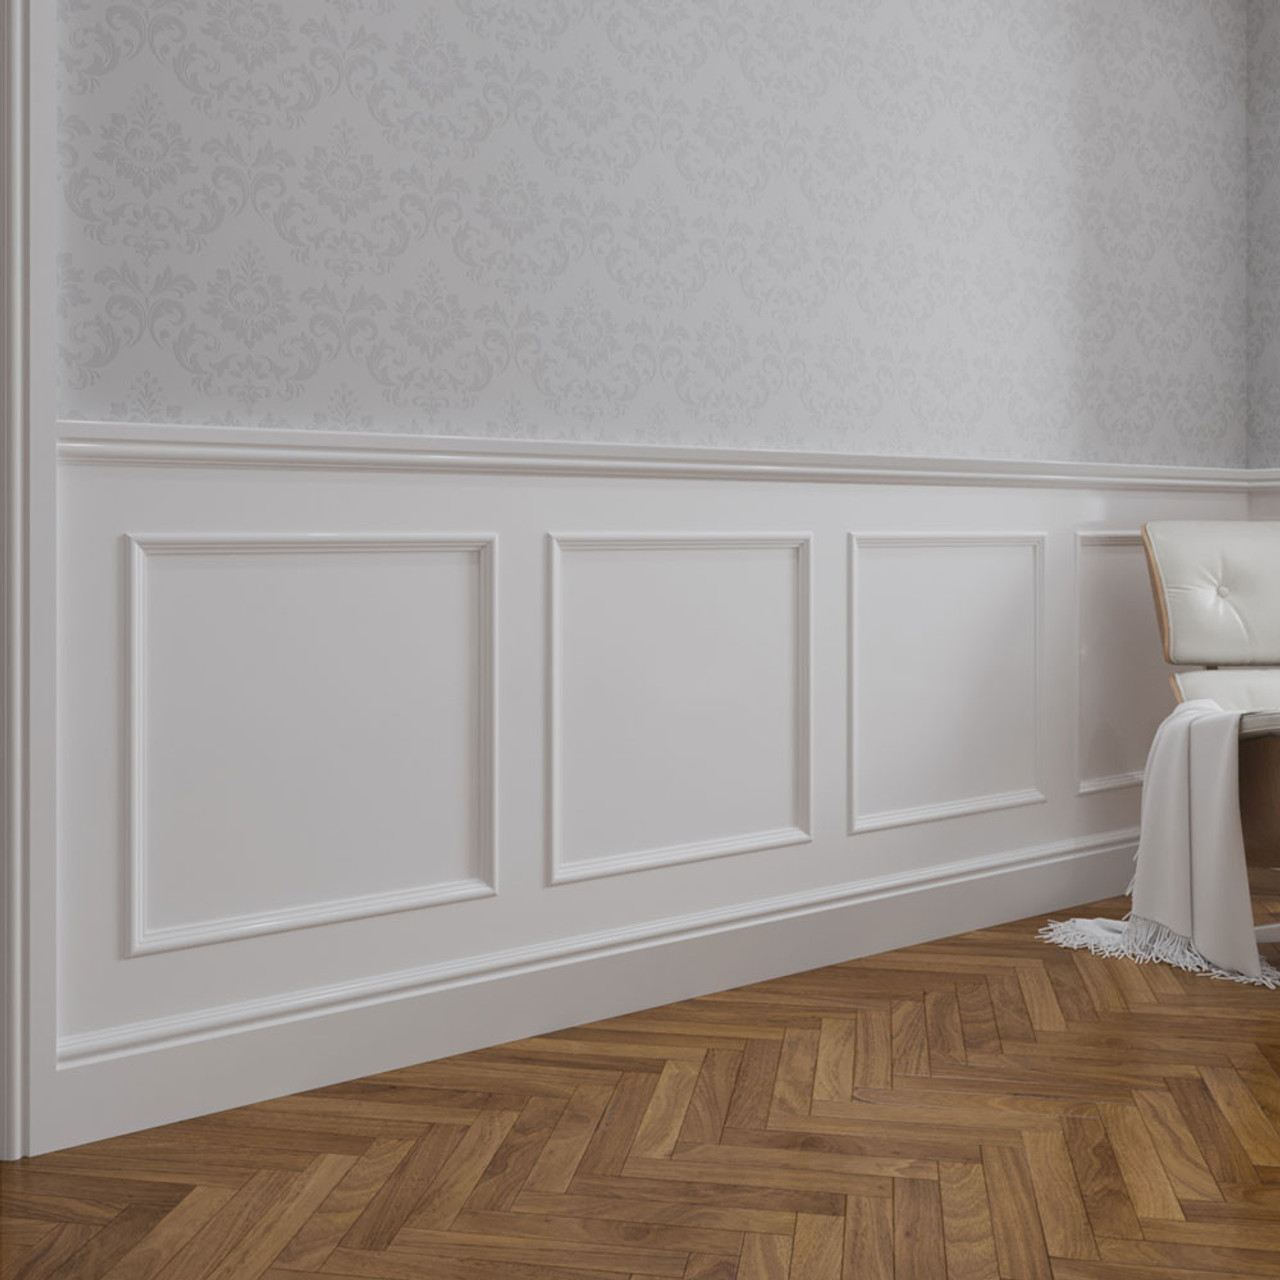
MDF (Medium Density Fibreboard) is a versatile and popular material for creating stylish wall panelling effects. From Shaker-style squares to full wainscoting, MDF panelling can be securely installed without adhesive using traditional carpentry methods.

MDF Panelling Strips & Kits
Our MDF panelling strips and complete kits are designed to create beautiful feature walls, wainscoting, and other decorative effects. While suitable for adhesive installation, they can be equally effective when installed with mechanical fixings.
This approach allows for secure attachment with the flexibility to remove or modify the panelling in the future without damaging your walls.
Step-by-Step: Installing MDF Panelling Strips
1 Acclimation & Planning
Allow your MDF panels to acclimate to the room's conditions for at least 48 hours before installation. This reduces the risk of warping or movement after fixing.
Measure your wall carefully and plan the layout of your panelling. For Shaker-style or grid patterns, mark out the positions of all vertical and horizontal strips using a level and pencil.
Tip: Create a scale drawing of your wall with measurements to plan the layout and calculate material needs accurately.
2 Cutting MDF Strips
Cut your MDF strips to the required lengths using a fine-toothed saw. For clean cuts, use a mitre box for straight lines and mitre cuts at corners.
If creating shaped panels, cut all pieces before beginning installation to ensure everything fits correctly. Sand any rough edges for a professional finish.
Tip: MDF creates fine dust when cut, work in a well-ventilated area and consider using a dust mask and safety glasses.
3 Installing Base Panels (If Required)
For wainscoting or full panel designs, you may need to install a base layer of MDF sheets. Cut these to fit the area and secure them to the wall with appropriate screws.
For masonry walls, drill and use wall plugs. For plasterboard, secure into studs where possible or use suitable hollow wall anchors. Space fixings approximately every 300mm around the perimeter and in the field of the panel.
Tip: Countersink the screws slightly so they can be filled and sanded flush later.
4 Fixing MDF Strips
Position each strip according to your marked layout. Check with a level before fixing. For direct wall mounting, use 40-50mm brad nails or panel pins approximately every 300mm. Pre-drill if the MDF is thin to prevent splitting.
Alternatively, use countersunk screws (countersink the holes first) with wall plugs for masonry walls. For mounting strips onto base panels, 30mm brad nails or panel pins are usually sufficient.
Tip: A nail gun significantly speeds up this process if you have access to one, but hand nailing works perfectly well with patience.
5 Finishing
Once all strips are securely fixed, fill any nail holes or screw heads with wood filler. When dry, sand smooth with fine sandpaper. Caulk any gaps between strips or where they meet the wall or other surfaces.
Prime and paint your panelling as desired. MDF requires proper sealing to prevent moisture absorption, use a good quality primer designed for MDF before applying topcoats.
Tip: For a professional finish, lightly sand between coats of paint and use a small foam roller for smooth surfaces.
Installing Pre-Made Wainscoting or Panel Mouldings
For pre-manufactured panel mouldings or wainscoting sections, the installation process is similar but may require fewer cuts:
- Measure and mark the wall to indicate where panels will be positioned.
- Cut panels to fit if needed, especially around sockets or architectural features.
- Secure panels directly to the wall using appropriate fixings for your wall type, screws with plugs for masonry, or screws into studs for plasterboard.
- Install any additional mouldings such as chair rails, top caps, or decorative trim using panel pins or brad nails.
- Fill, sand, and finish as described above for a seamless appearance.
Common Mistakes & Solutions
Even experienced DIYers can encounter challenges when installing wall panels without adhesive. Here are some common pitfalls and how to avoid them:
Alternative Mounting Methods
While direct mechanical fixings and batten installation are the most common adhesive-free methods, there are other options worth considering for specific scenarios:
Note: These alternative methods may require specialised hardware or additional preparation. For most standard wall panel installations, the direct fixing or batten methods described earlier will provide the most reliable and cost-effective results.
Adhesive or Fixings?
Installing wall panels without adhesive offers numerous advantages: flexibility, reversibility, and accommodation for natural material movement. With the right preparation, tools, and techniques, mechanical fixings can provide a secure and long-lasting installation for virtually any type of wall panel.
Whether you're working with PVC panels in a bathroom, creating an elegant MDF wainscoting feature, or installing decorative wall panels, the methods outlined in this guide will help you achieve professional results while preserving your wall surfaces for future changes.
Remember that careful planning, accurate measuring, and patient execution are the keys to success with any wall panelling project. Take your time, use appropriate fixings for your wall type, and enjoy the transformation of your space with beautiful, functionally installed wall panels.
Transform Your Walls Today
Browse our complete collection of wall panels, panelling kits, and accessories to start your adhesive-free installation project.