Posted by Wall Panels World on 10th Oct 2025
Bedroom Wall Panelling Ideas | For British Homes
You start and end your day in the bedroom. The average person spends 8 hours a day in it, that's roughly 26 years spent in one room. So making sure that your bedroom looks and feels great is paramount.
Bedroom wall panelling changes how a bedroom feels without requiring structural work or major upheaval. Whether you're after traditional proportions, modern texture, or practical solutions for awkward walls, there's an approach that'll work for your space.
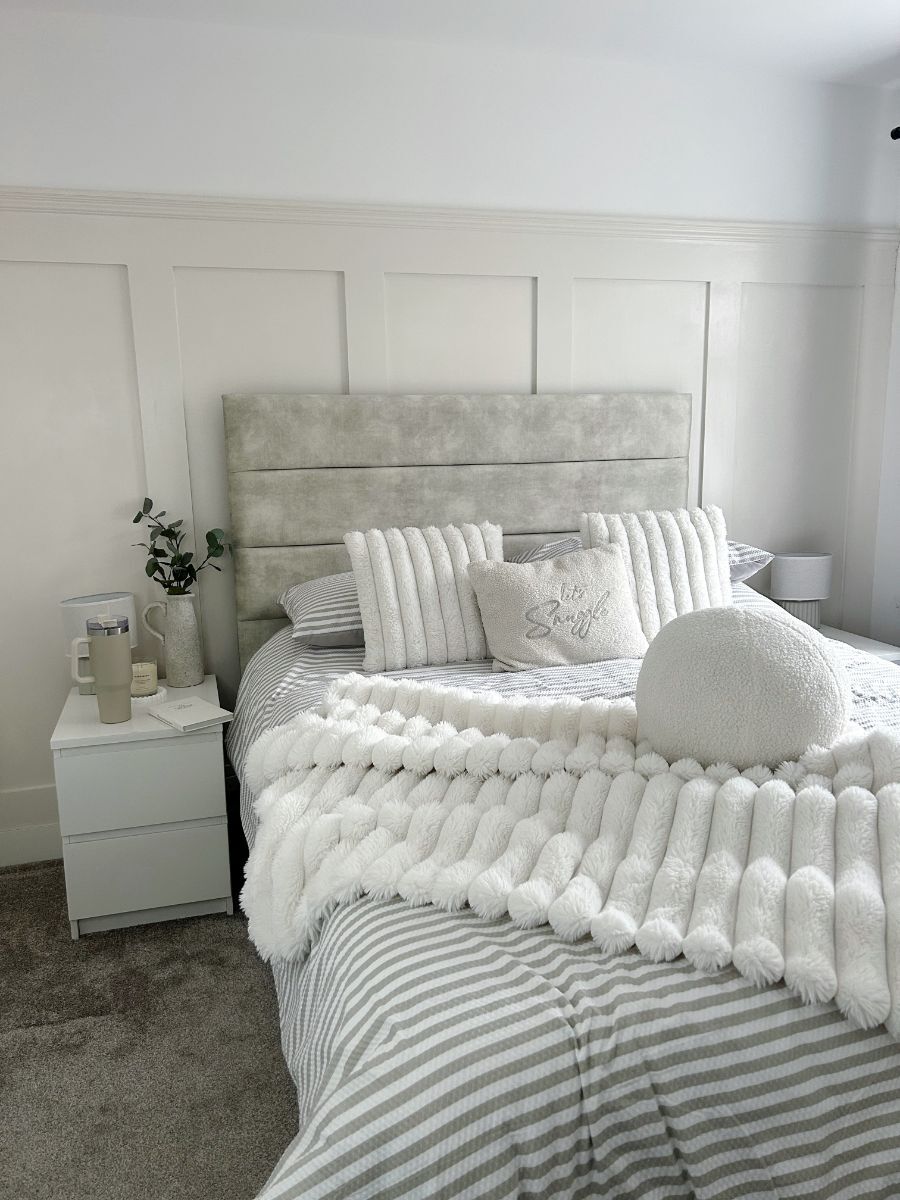
Three-Quarter Shaker Walls
The three-quarter wall treatment stops about 180cm up, roughly level with the top of most wardrobes. This height works particularly well in bedrooms where you're often sitting or lying down, as it creates visual interest at eye level without overwhelming the space.
The clean lines of shaker-style panels suit both modern and traditional spaces. The recessed panels create subtle shadows that add depth without busy patterns or colours. In this setup, the panelling runs behind the bed and continues across adjacent walls, giving the room a cohesive feel.
Most people install these panels in primed MDF, then paint them to match their walls or create contrast. The panel spacing typically sits around 400-600mm wide, though you can adjust this to suit your wall dimensions.
The gap above the panelling gives you space to hang artwork or install wall lights without interfering with the panel design. If you're installing yourself, cutting the panels to this height means fewer awkward cuts around ceiling cornices.
Framed Wallpaper Panels
Panel moulding creates frames on your wall, which you can then fill with fabric, wallpaper, or paint. The chequered pattern shown here uses alternating tones within each frame, creating a subtle tartan effect that adds warmth without pattern overload.
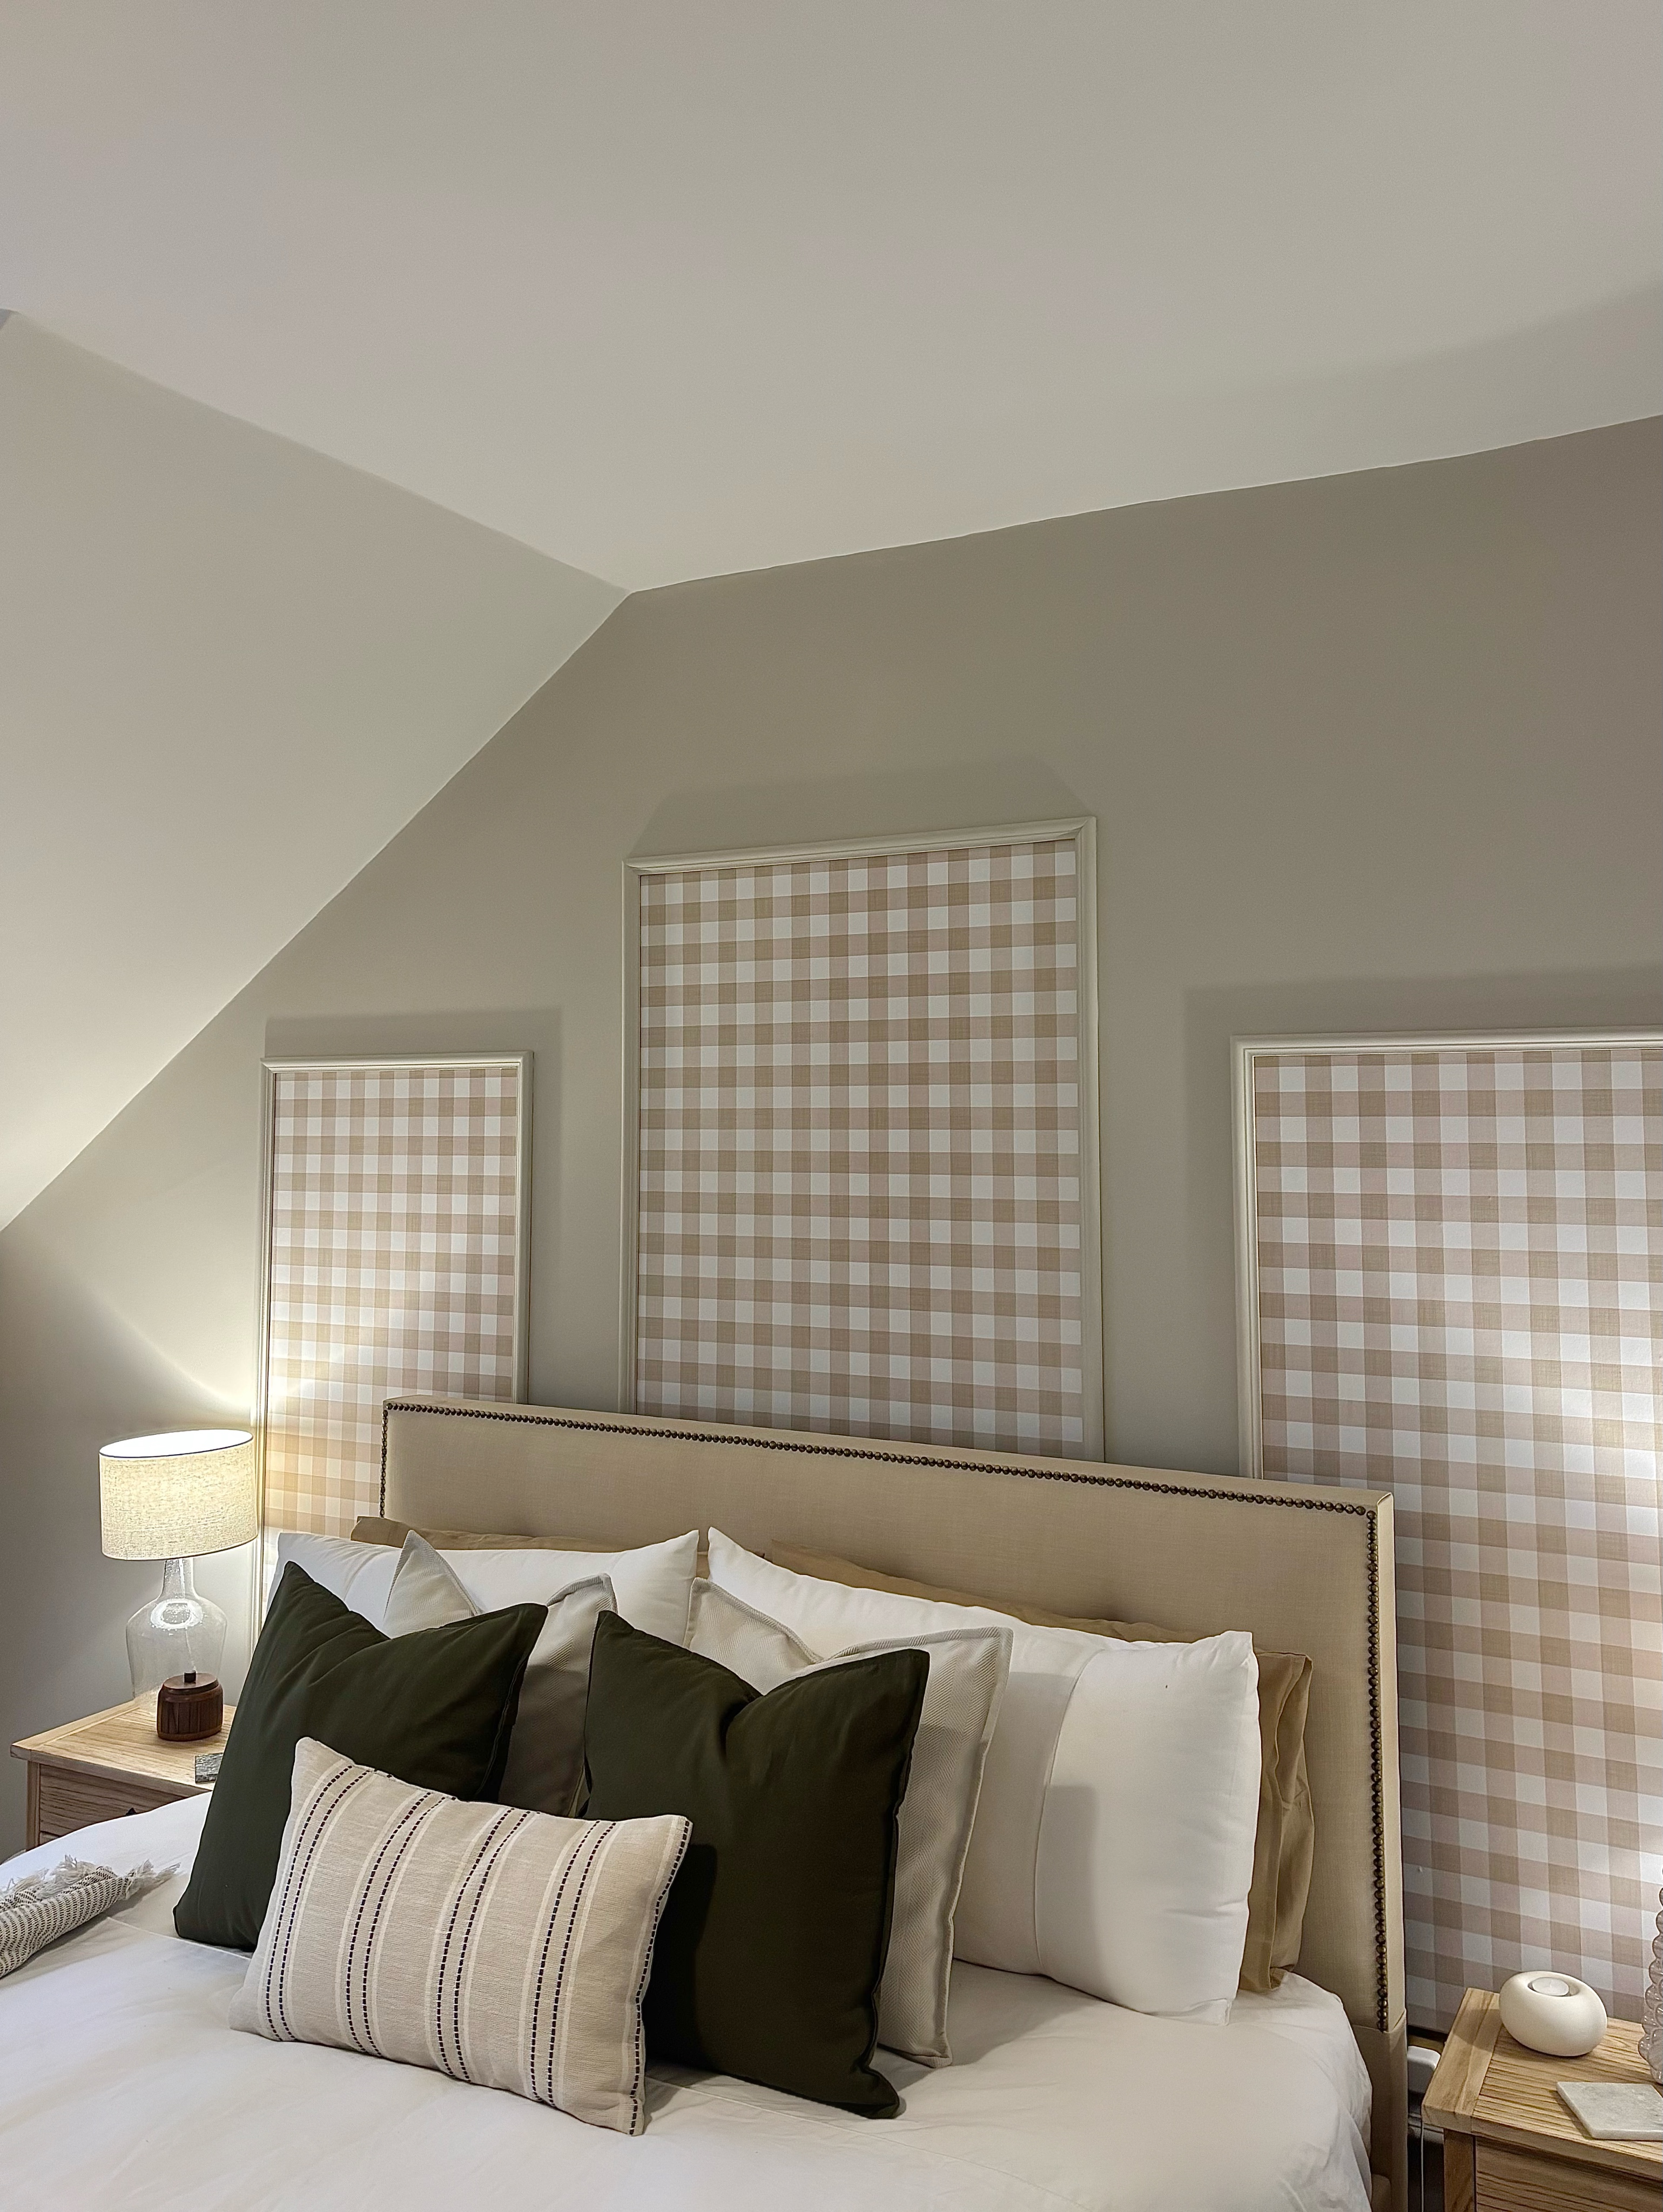
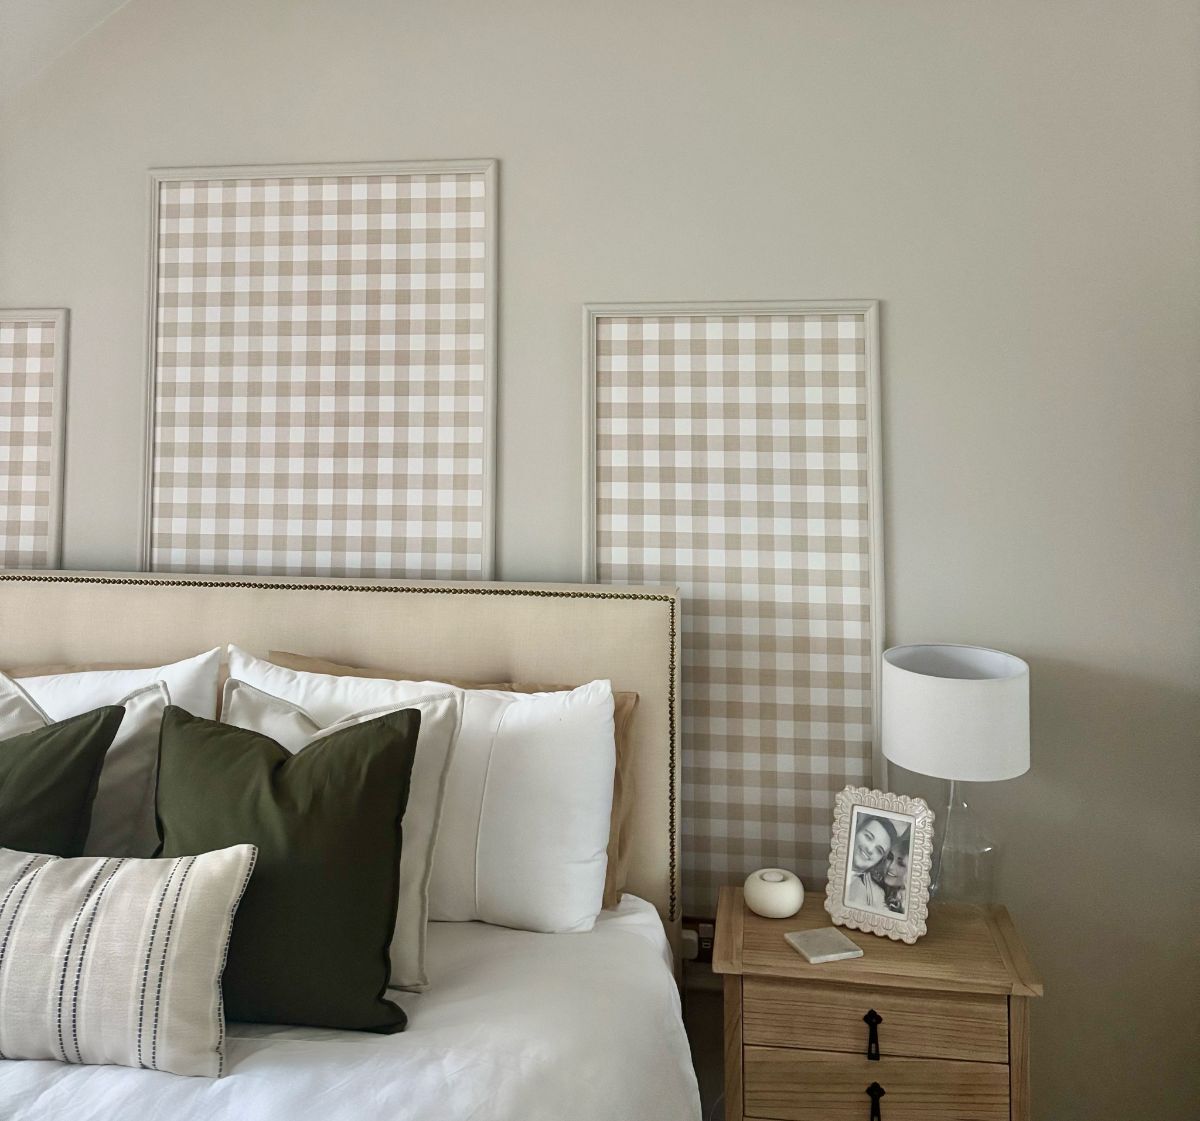
The moulding itself is usually Astragal or Inset profile, about 18mm thick. You attach it to the wall first, then fill the frames with your chosen material. Fabric needs to be stretched taut and stapled behind the moulding, though some people use adhesive spray for lighter materials.
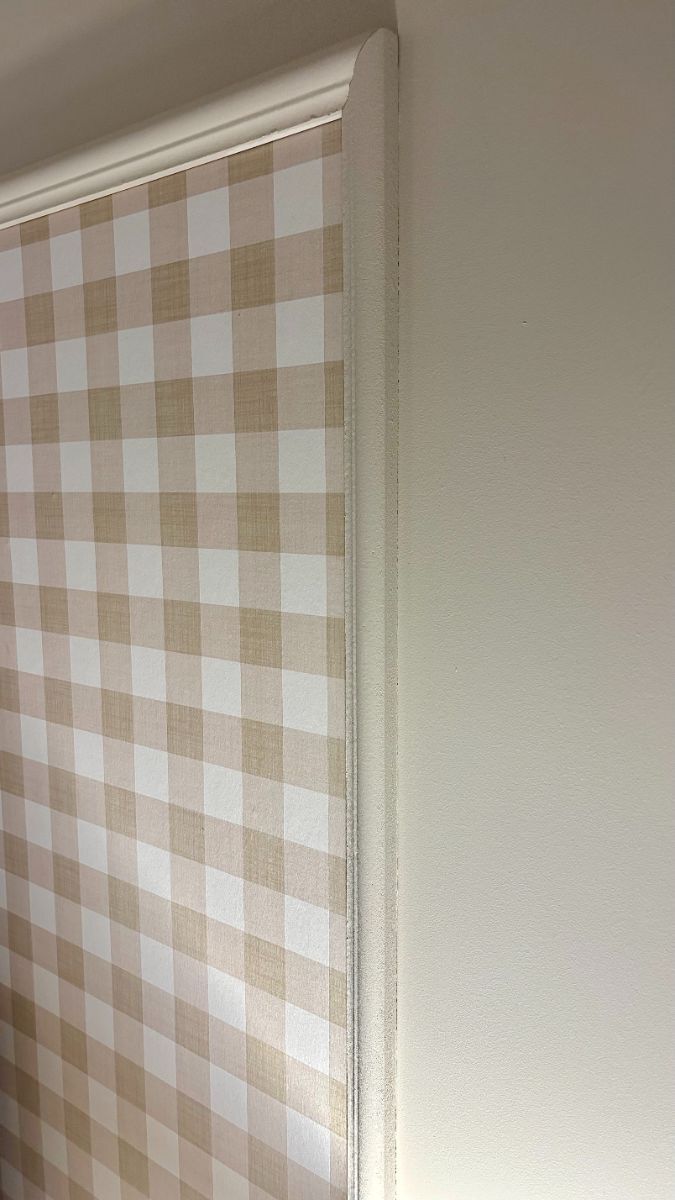
This approach works well if you want soft texture on your walls but aren't keen on full upholstered panels. The frames contain the pattern to specific areas, so you can use bolder designs without overwhelming the space.
Tongue and Groove Options
Tongue and groove panelling runs in continuous vertical or horizontal strips that lock together. The joins between boards create regular shadow lines that add texture without requiring separate moulding pieces.
Behind the bed
Vertical panels behind the bed create a feature wall without requiring full room coverage. The soft green tone here works with natural materials and creates a calming backdrop. Most tongue and groove panels are around 90-120mm wide, with boards running floor to ceiling.
This type of installation typically takes a day for a 3-metre wide wall, including cutting boards to length and fixing them. You'll need to work out from the centre to keep the spacing symmetrical.

Horizontal full-wall coverage
Running the boards horizontally changes the room's proportions, making walls appear wider. This works particularly well in narrow bedrooms where you want to counteract the tunnel effect. The dark accent wall here uses horizontal panelling that extends the space visually.
Installing horizontally means starting from the floor and working up, checking level with every third or fourth board. The bottom board needs particular attention as any slope gets magnified as you go higher.
Painted vertical boards
White or light-painted tongue and groove keeps rooms feeling bright while adding the textural interest of the panel lines. This approach suits smaller bedrooms where darker panelling might feel heavy. The shadow lines create subtle visual interest without colour contrast.
Half-Wall Shaker Panelling
Half-wall panelling runs to about 900-1200mm high, roughly waist level when standing. This height creates the traditional proportions seen in period properties without the cost of full-wall coverage.
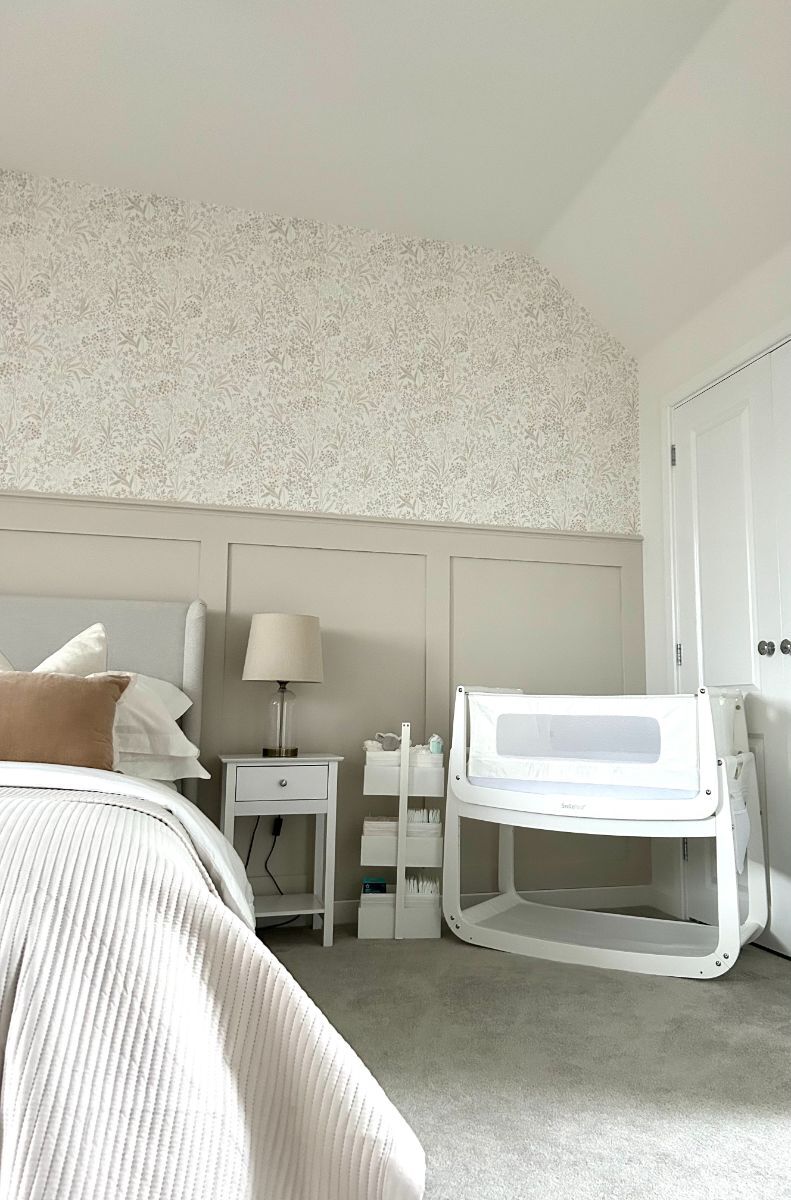
The divide between panelled and plain wall creates a natural place to change paint colours or add wallpaper to the upper section. Many people paint the panels in a slightly deeper tone than the walls above, which grounds the room without stark contrast.
From a practical standpoint, half-wall panelling protects the most vulnerable part of your walls from furniture scuffs and daily wear. In bedrooms with children or pets, this protection pays for itself over time.
Installation follows the same process as full-height panels, but you'll need a capping rail along the top edge to finish the panelling neatly. This rail also provides a narrow ledge for small decorative items if you want it.
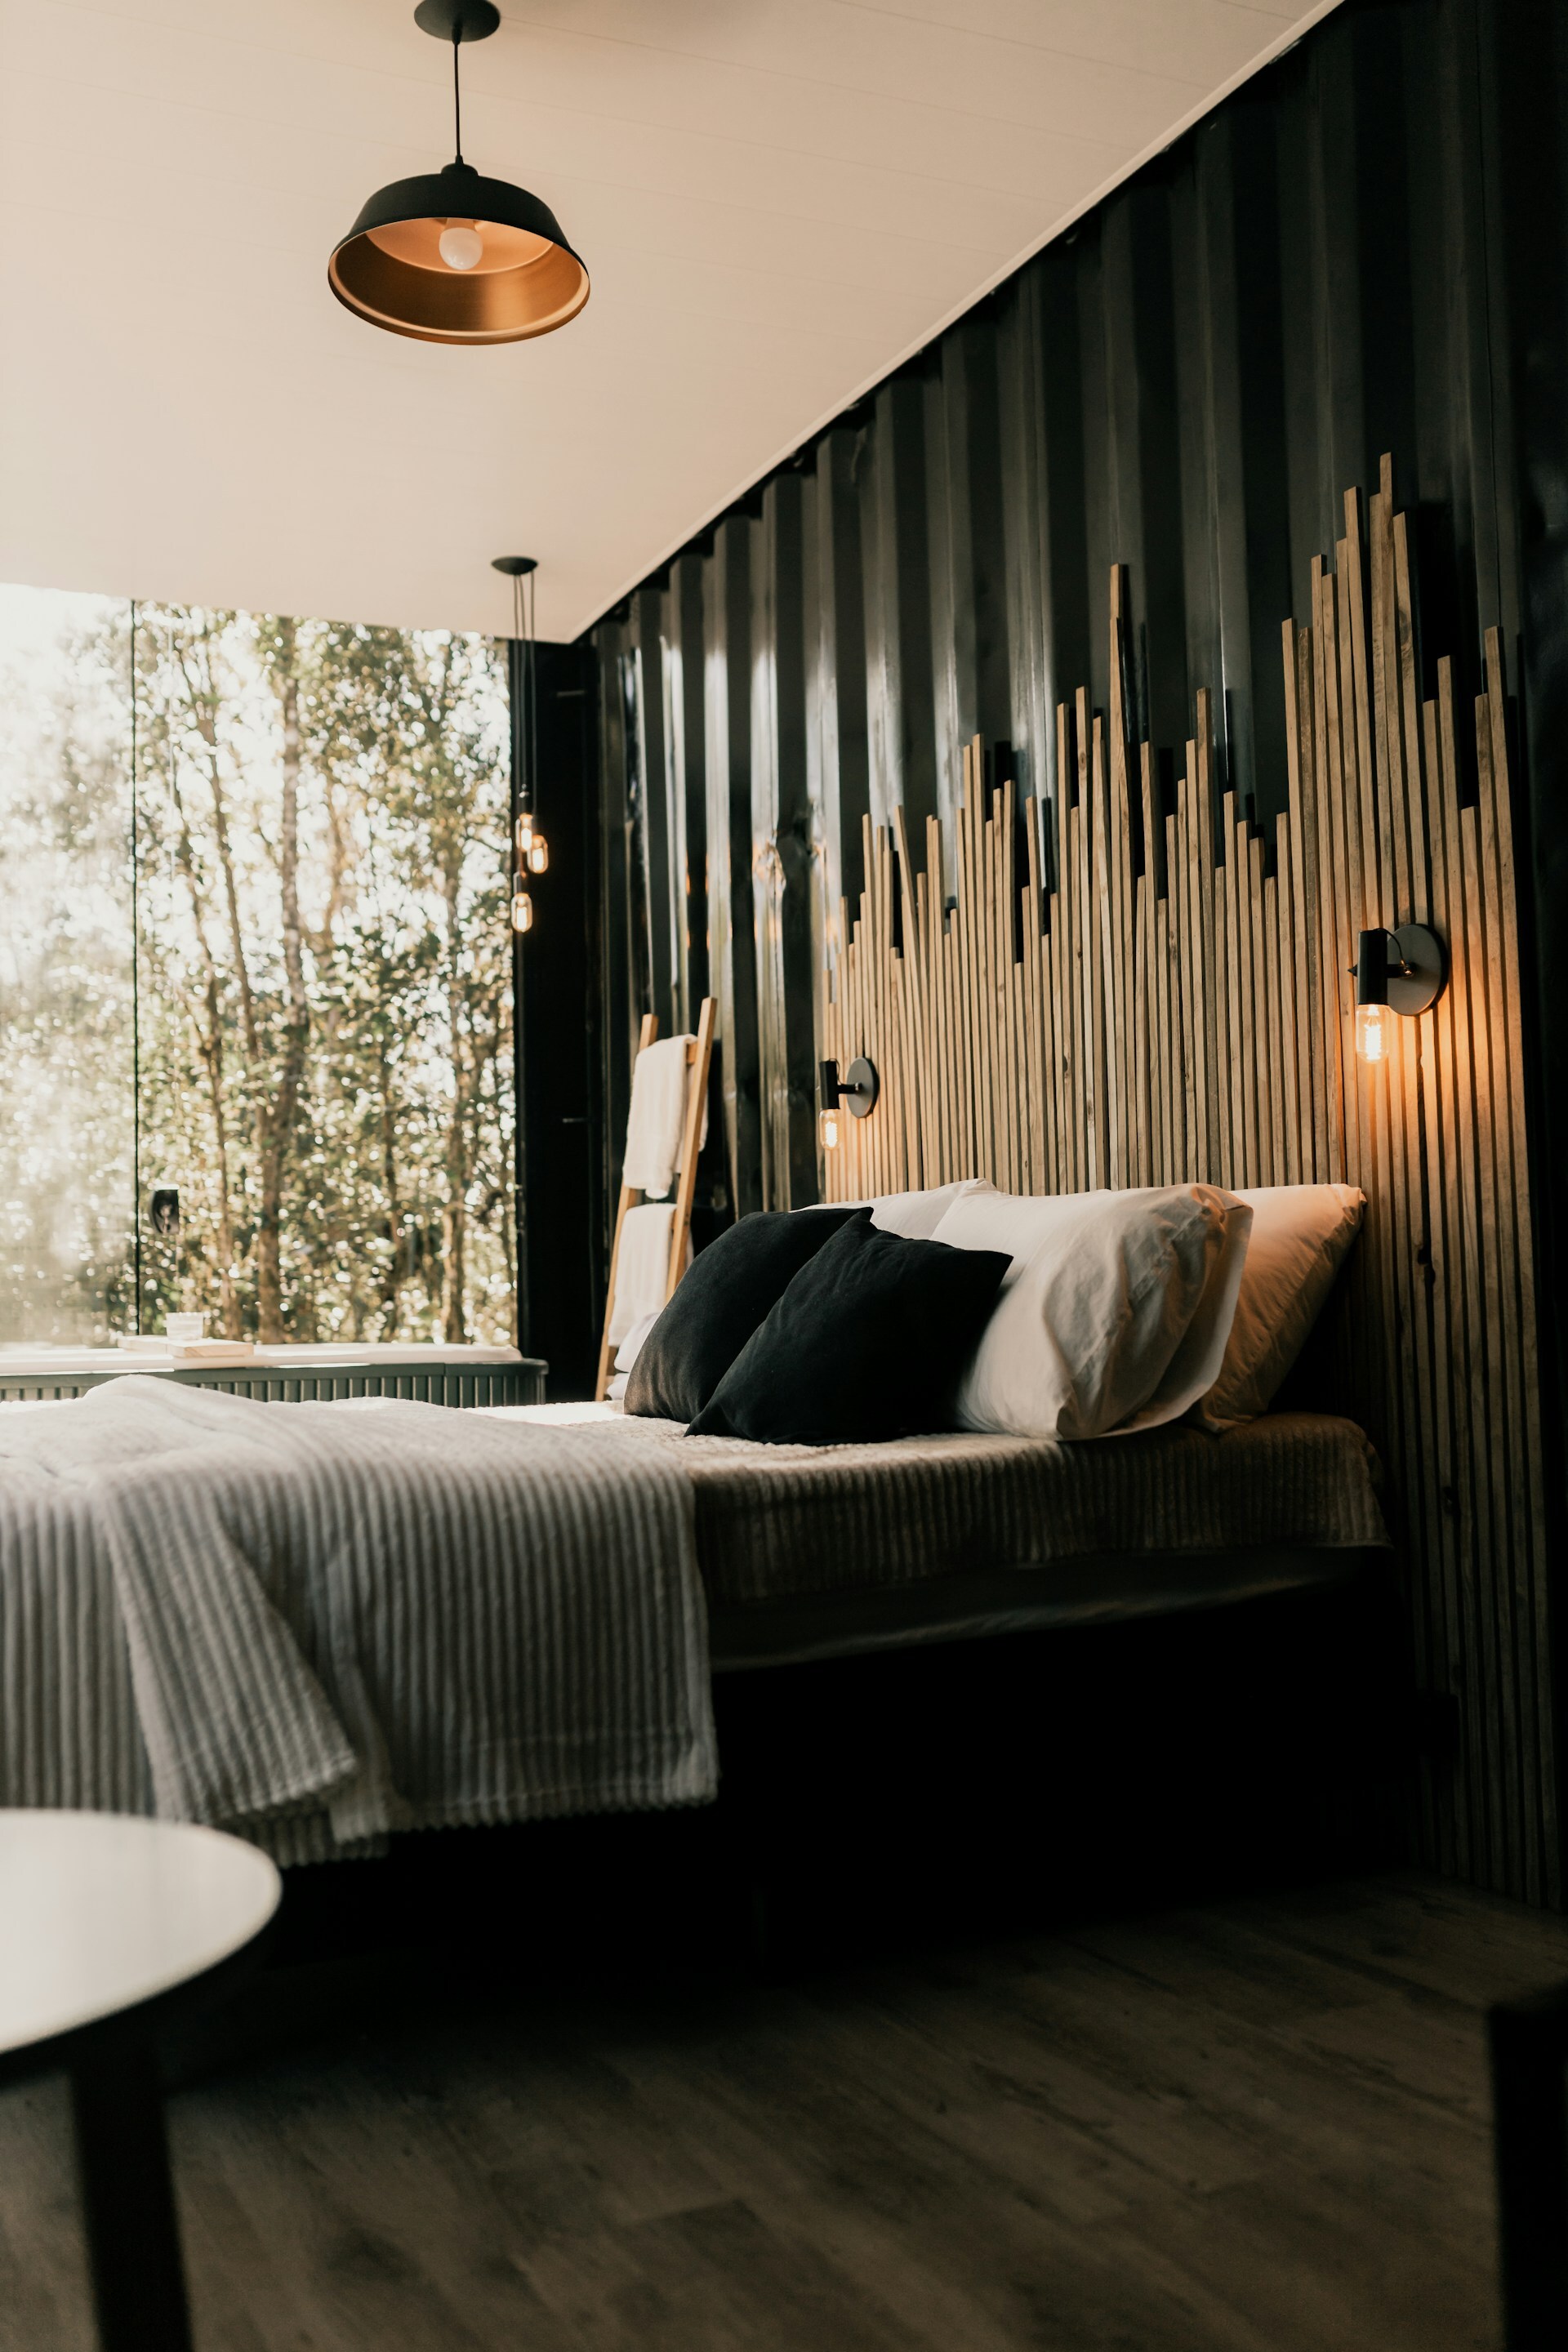
Slat Wall Variations
Slat panels space individual strips away from the wall backing, creating deeper shadows than tongue and groove. The gaps between slats let you run cables or add LED strips behind the panels for indirect lighting effects.
High-gloss finish
Slat panels come in various finishes, including high-gloss options that reflect light around the room. The wider slat spacing here creates bold shadow lines that work as a graphic element rather than subtle texture.
Dark wood tones
Natural wood finishes or dark stains create a warmer effect than painted panels. The horizontal grain visible in wood veneer adds another layer of texture beyond the slat pattern itself.
LED-lit installations
Running LED strips in the gap behind slat panels creates ambient lighting that highlights the panel texture. The warm glow here comes from strips positioned horizontally behind the vertical slats, casting light both up and down the wall.
This approach works particularly well with acoustic-backed slat panels, as the felt behind the slats helps diffuse the light evenly. You'll want dimmable LEDs so you can adjust the intensity for different times of day.
Children's bedrooms
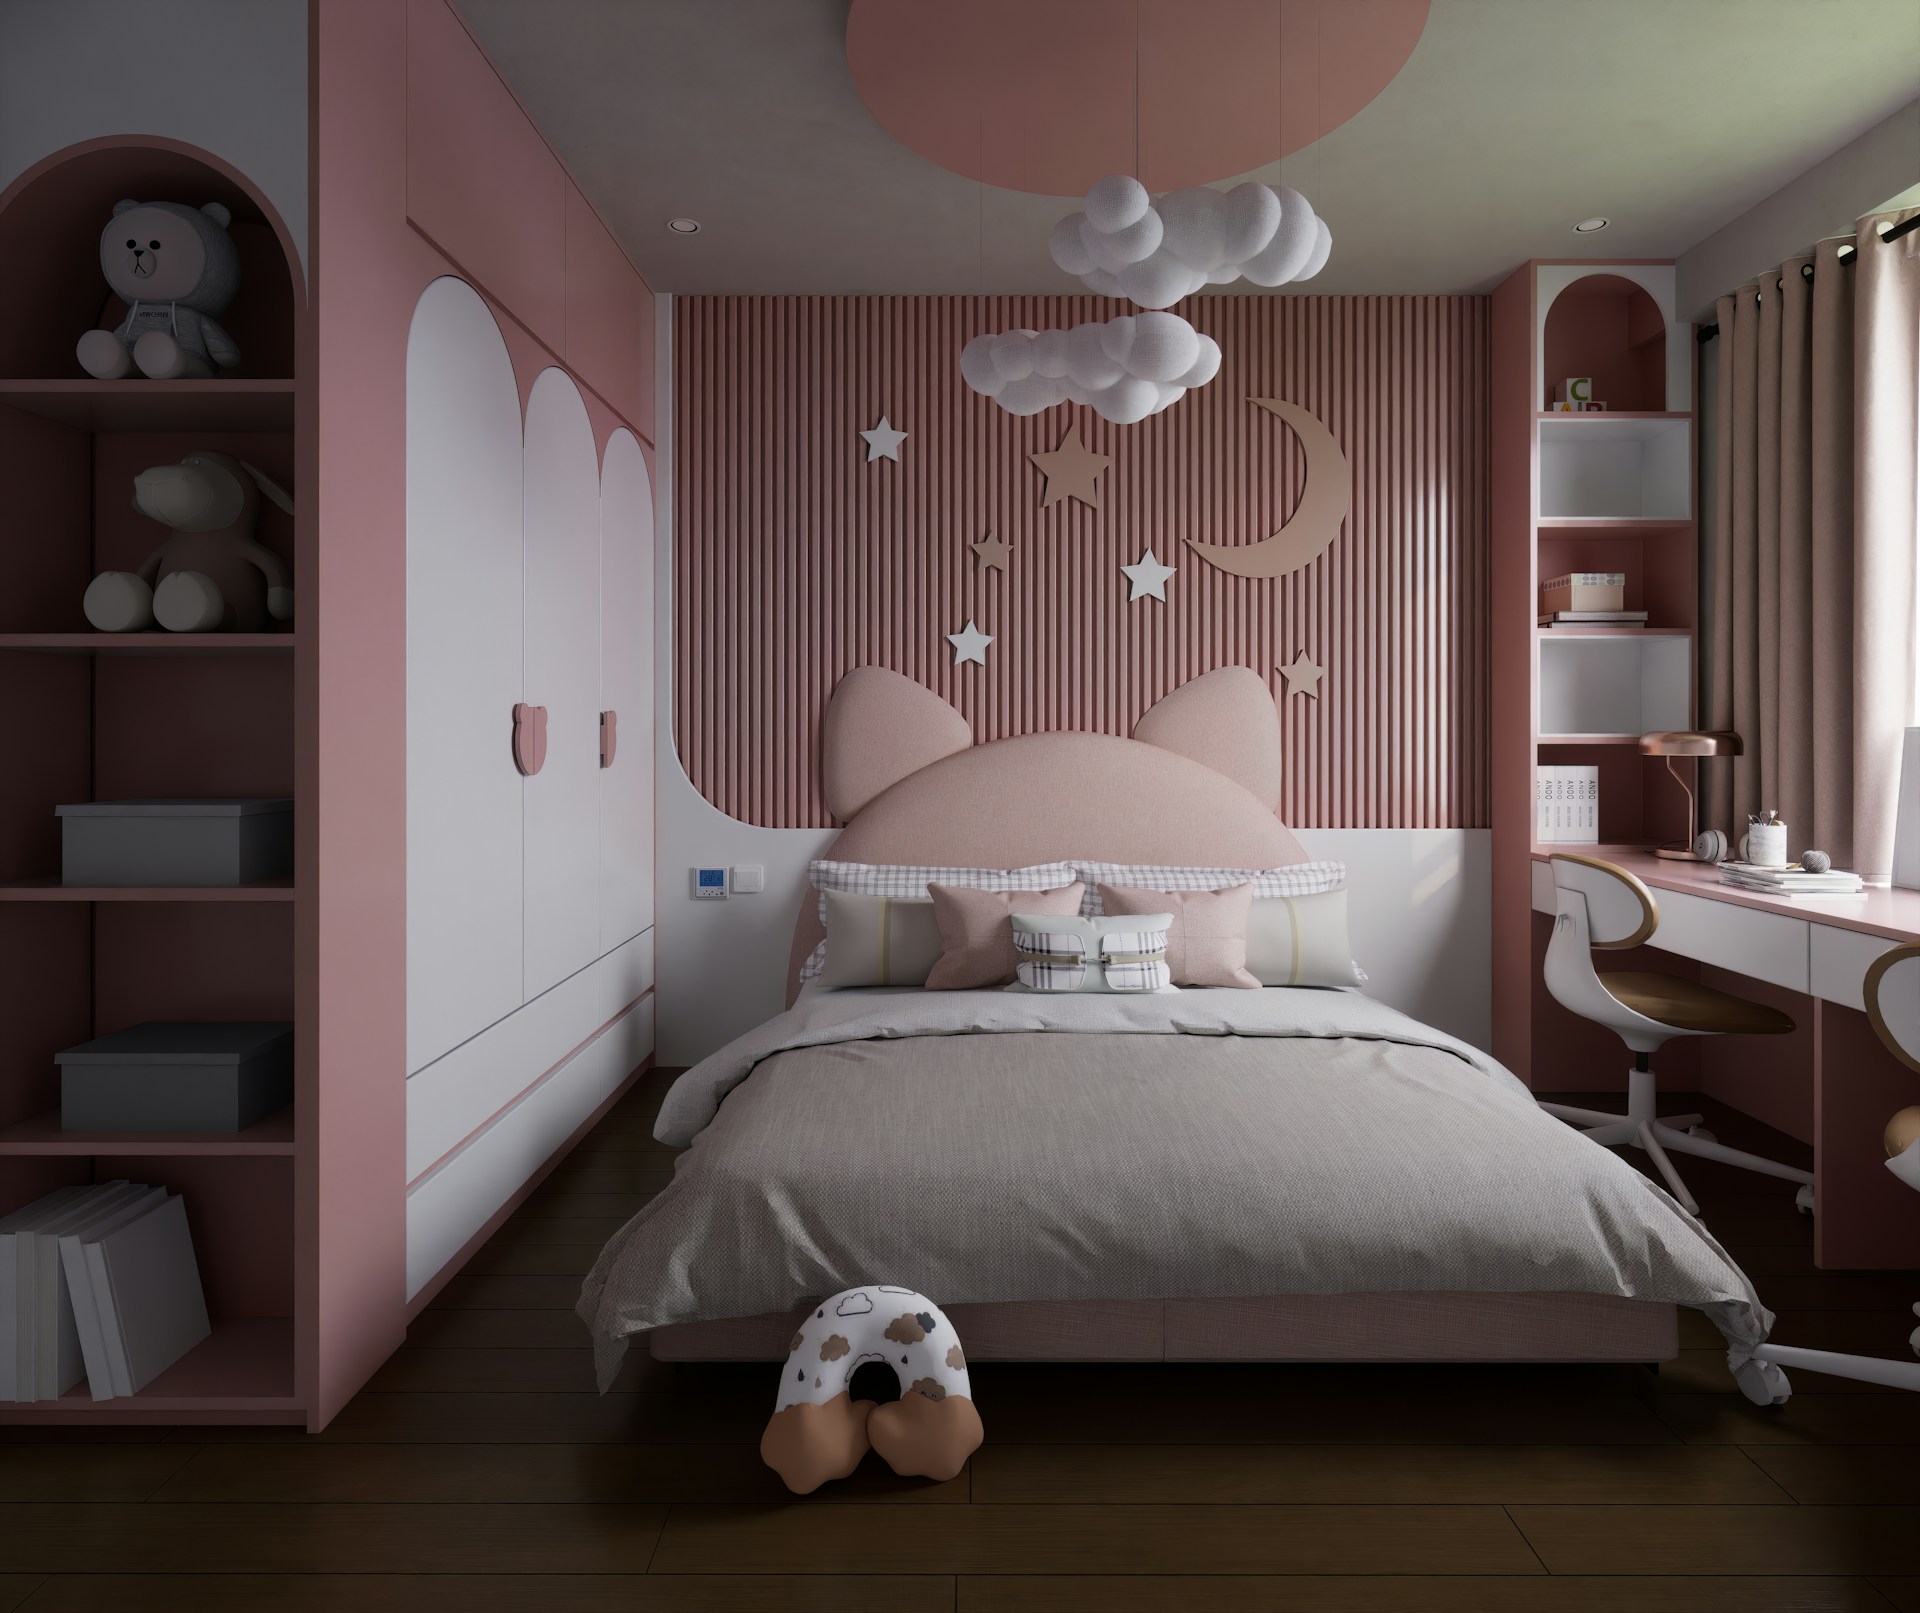
Slat panels in children's rooms create visual interest that grows with them, avoiding the need to redecorate as they get older. The vertical lines here complement the room's other features without competing for attention.
From a practical angle, slat panels are easier to wipe clean than textured wallpaper and more durable than painted walls when subjected to inevitable bumps and scuffs.
Feature sections
Rather than covering entire walls, some installations use slat panels as architectural features. The varying lengths here create a geometric pattern that draws focus without overwhelming the space. This approach works well when you want the benefits of panelling without committing to full wall coverage.
Full-Height Coverage
Full-height installations require more material and time than half-wall options, but they create a more dramatic transformation. You'll need to work carefully around light switches, sockets, and any wall-mounted fixtures, planning cut-outs before you start installing.
Ceiling height matters with full-wall panelling. In rooms under 2.4m high, darker panelling can make the space feel compressed. Lighter tones or vertical panels that draw the eye upward work better in lower-ceilinged rooms.
Brick Effect Panels
For something completely different, PVC brick panels create an industrial look without the weight or cost of real brick. These panels install directly to plasterboard with adhesive and give you the texture of exposed brick in about a tenth of the time.
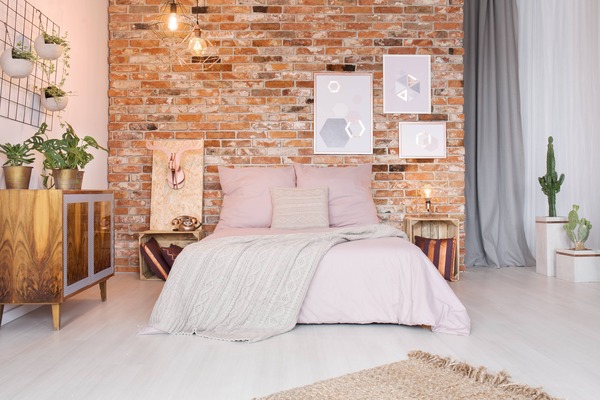
The brick shown here works as a neutral backdrop that adds texture without strong colour. The PVC material means you can wipe them clean easily, and they won't shed dust like real brick would in a bedroom.
These panels come in 2.6m lengths and 250mm widths, covering about 0.65 square metres per panel. The tongue and groove edges hide the joins, creating what looks like continuous brickwork. Installation typically takes a weekend for a feature wall, working from the floor up with panel adhesive.
Planning Your Bedroom Panelling
The panelling style you choose should match both your bedroom's proportions and how you actually use the space. Rooms where you spend time sitting up in bed benefit from panelling at eye level - roughly 900-1800mm high. If your bedroom is mainly for sleeping, lower panelling or feature walls behind the bed work better than full-room coverage.
Consider the existing features you'll need to work around. Radiators, sockets, and light switches all require careful planning. MDF panels can be notched around obstacles, but it's easier to plan the panel layout so joins fall away from these interruptions where possible.
Most bedroom panelling projects take 2-4 days for DIY installation, depending on room size and panel complexity (Use our panelling calculators to speed things up). Starting with a single feature wall behind the bed lets you test the process before committing to full room coverage if that's your eventual plan.
Browse Bedroom Panelling
From shaker panels to slat walls, find the panelling that suits your bedroom
View Bedroom Panelling