Posted by Wall Panels World on 14th Feb 2025
How To Install Acoustic Slat Wall Panels | DIY | Free Delivery
Acoustic Slat Wall Panel Installation Guide
Required Tools & Materials
Tools
- Fine-tooth handsaw or circular power saw
- Spirit level (600mm minimum)
- Measuring tape
- Pencil and masking tape
- Screwdriver
- Adhesive
Safety Equipment
- FFP3-rated dust mask
- Safety goggles
- Work gloves
- Knee protection
Installation Steps
1. Measure Wall Height
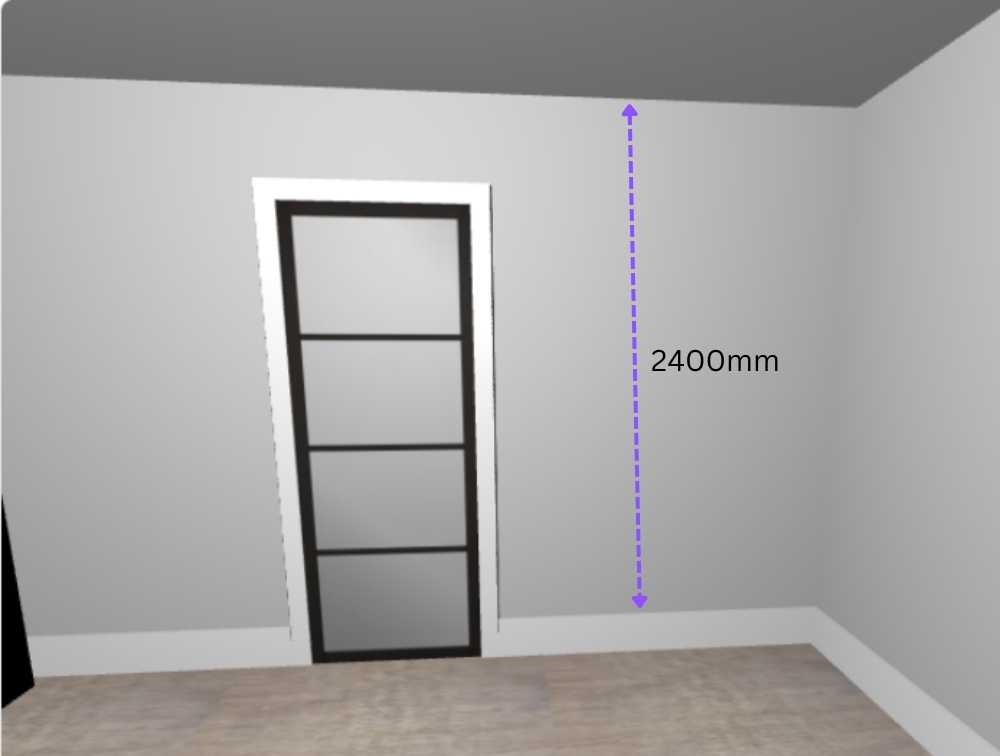
Take precise measurements at multiple points along the wall to account for any variations in height. For reference, check our guide on standard ceiling heights.
2. Mark Panel Height
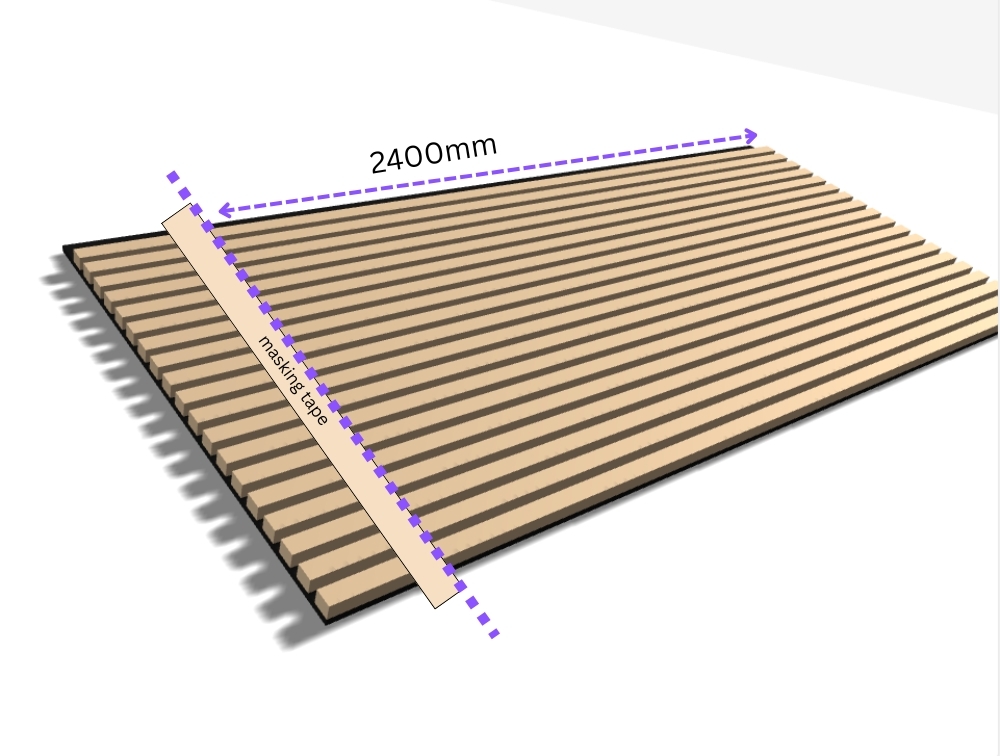
Transfer wall measurements to the panel and mark cutting lines using masking tape for clean cuts.
3. Cut Panel to Size

Use a fine-tooth saw to cut the panel. Keep the panel face-down to prevent splintering.
4. Secure Loose Slats
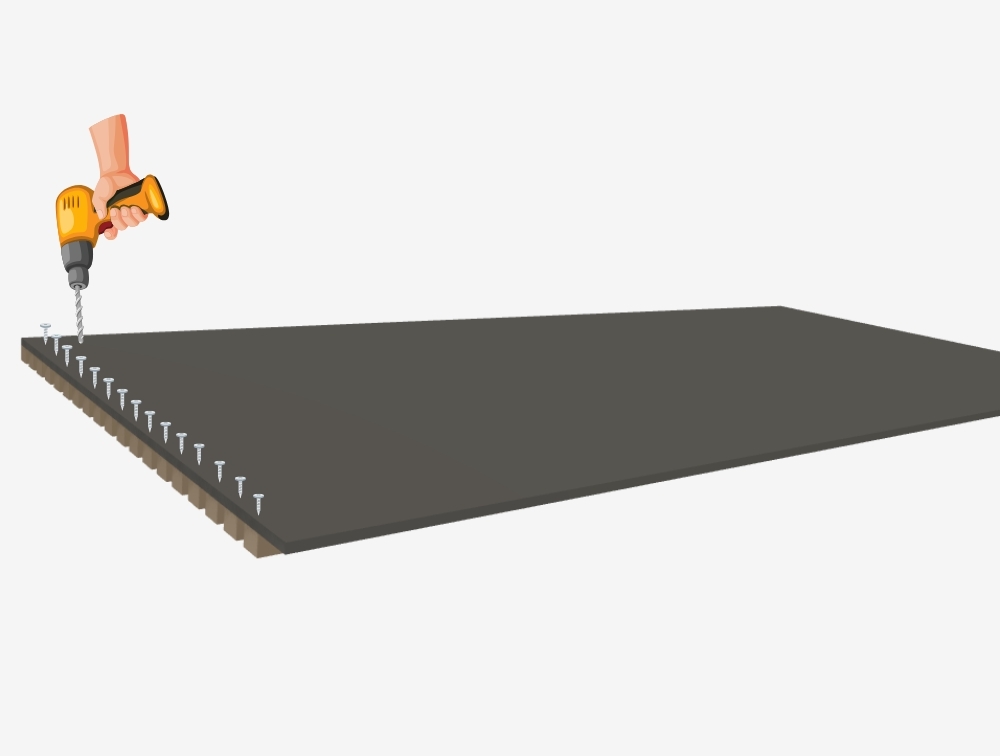
If any slats become loose after cutting, secure them with screws / secure with nails and a nail gun, through the rear felt backing.
5. Apply Adhesive
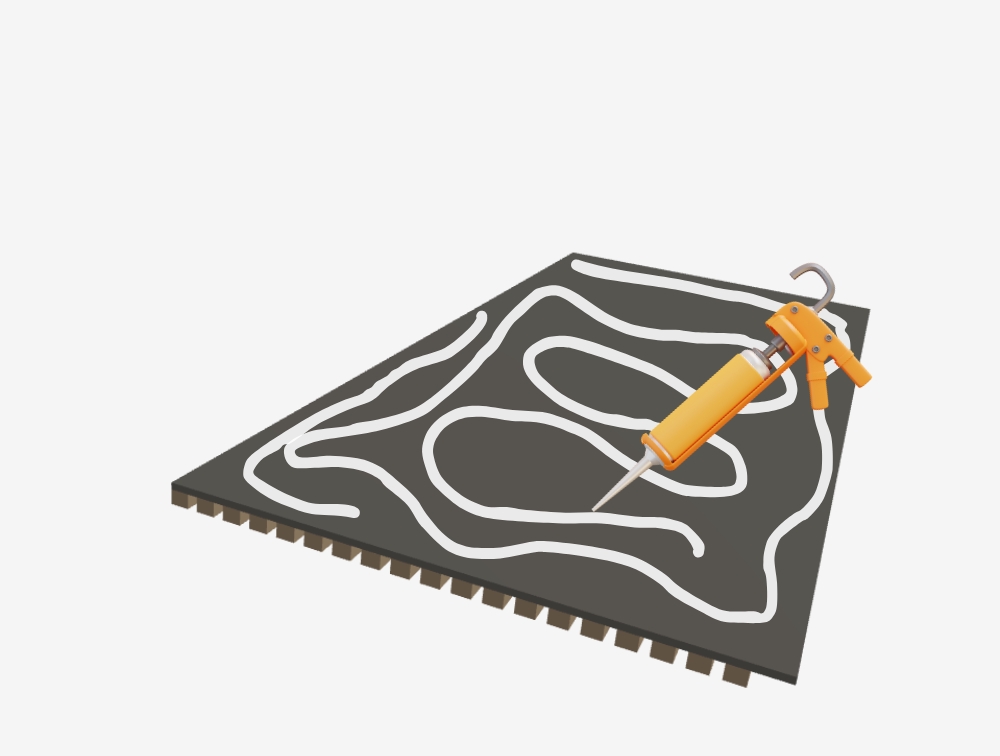
Apply adhesive to the rear of the panel in a continuous W-pattern for optimal coverage. Learn more about choosing the right adhesive for your installation.
6. Install First Panel
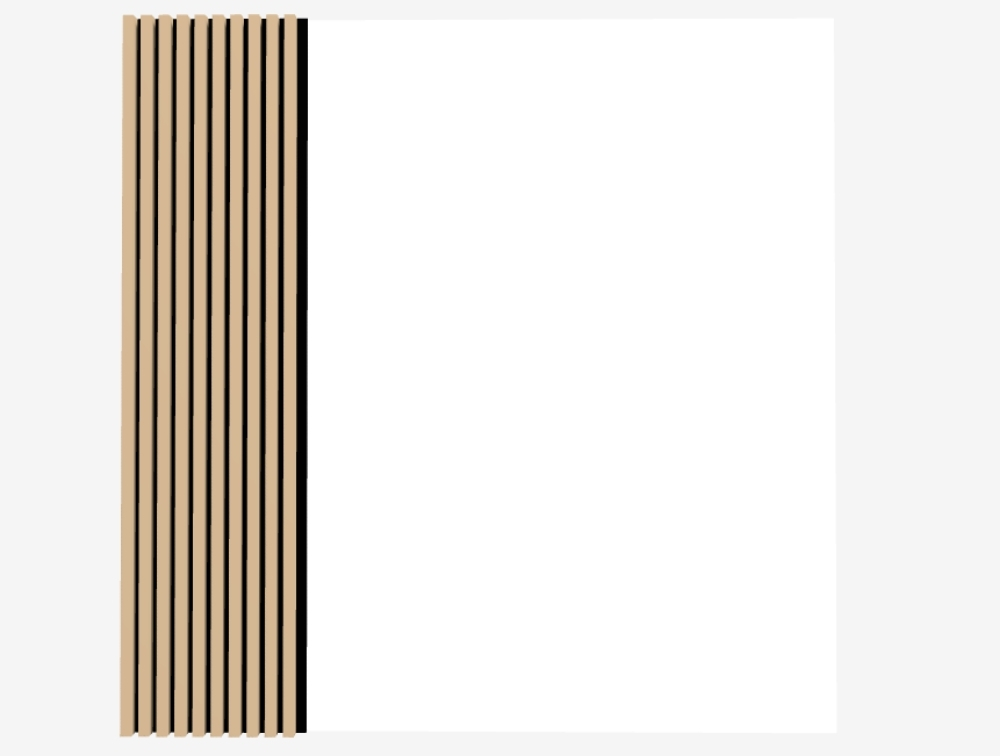
Position the first panel with a 2mm expansion gap at floor and ceiling. Ensure it's level.
7. Prepare Additional Panels
Cut remaining panels to size, preparing them for tongue and groove installation.
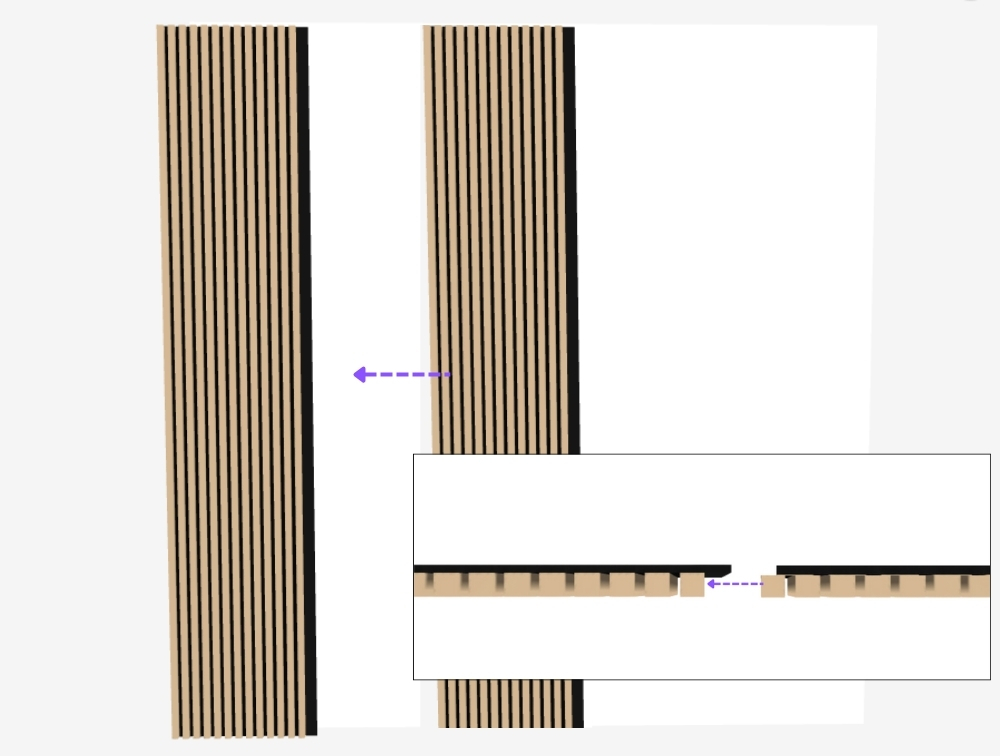
8. Connect Panels
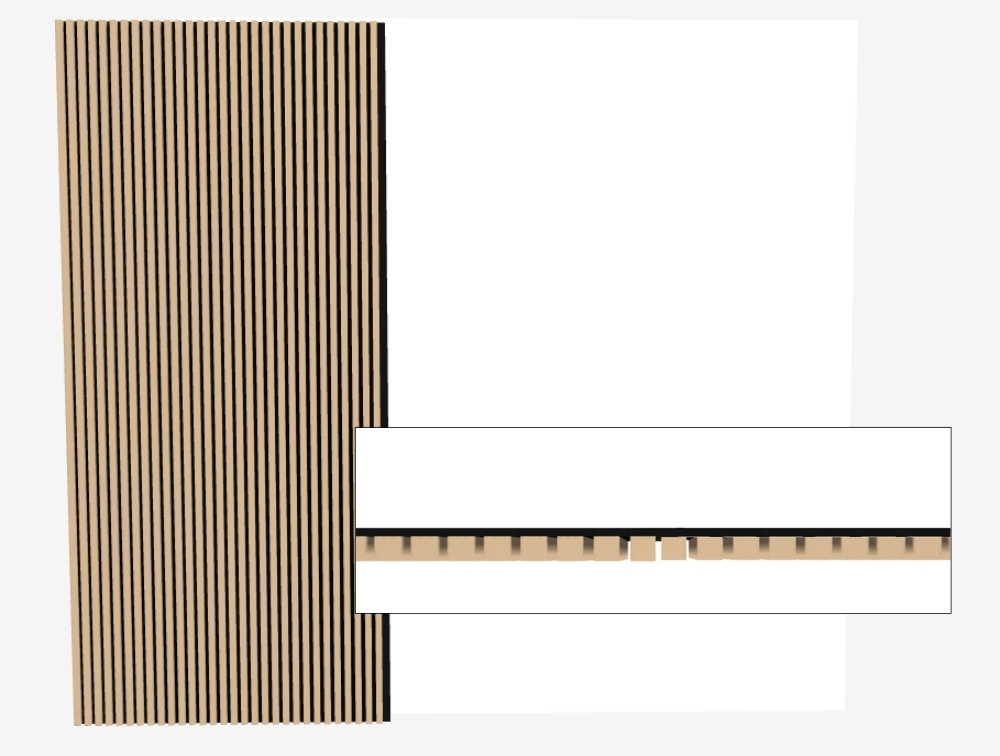
Carefully slot subsequent panels into the tongue and groove joint of the previous panel. For inspiration on different panel arrangements, check out our slat wall design ideas.
9. Mark Socket Locations
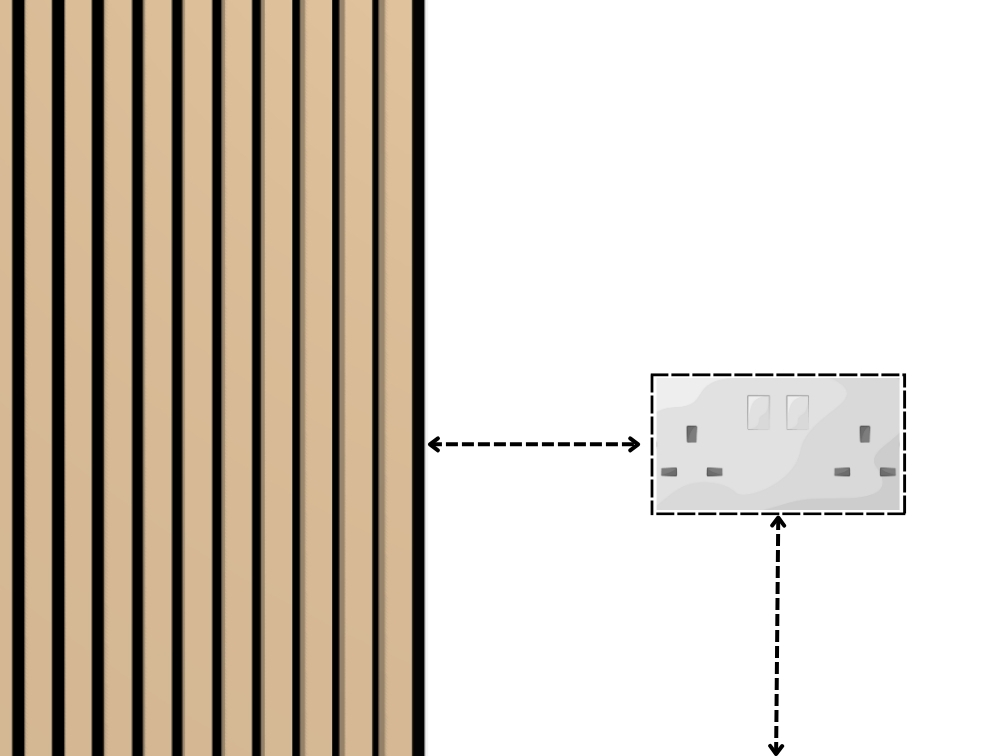
Measure and mark positions for electrical outlets and switches.
10. Transfer Socket Markings
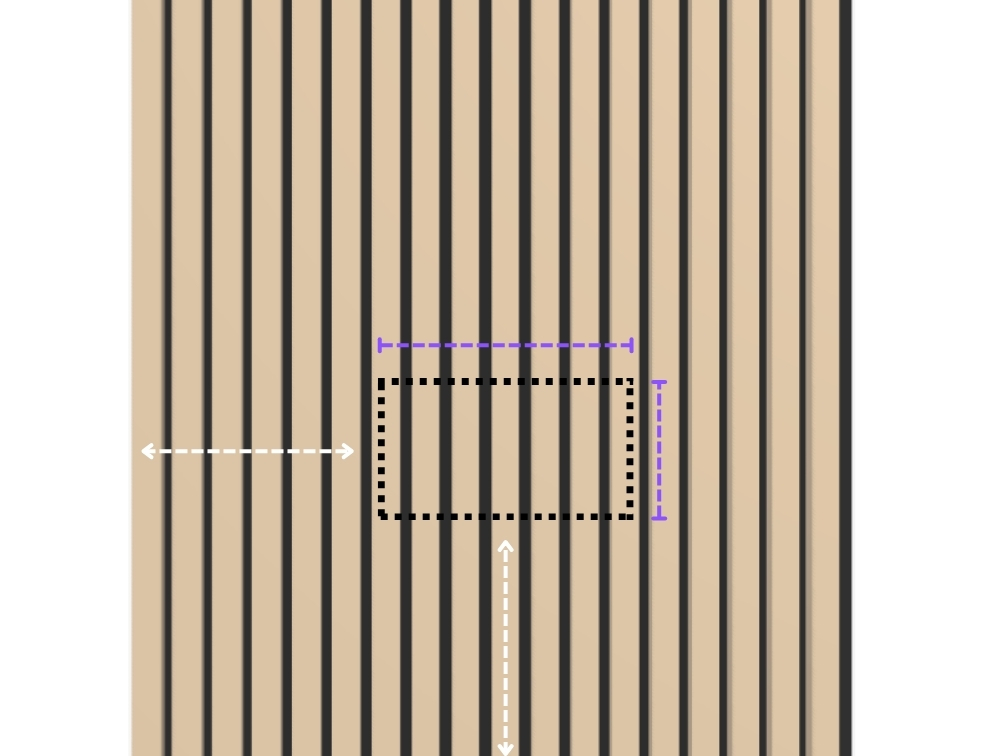
Transfer socket measurements to panel and mark cutting lines.
11. Cut Socket Holes
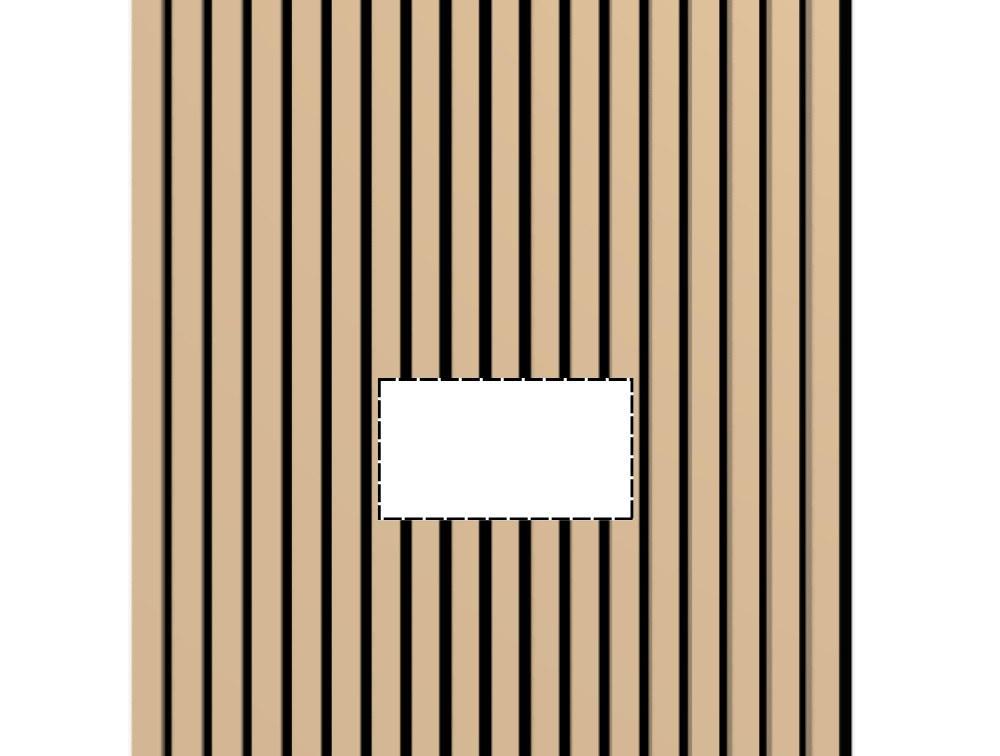
Use a jigsaw to carefully cut out marked socket areas. Take care not to damage the panel.
12. Install Socket Panel
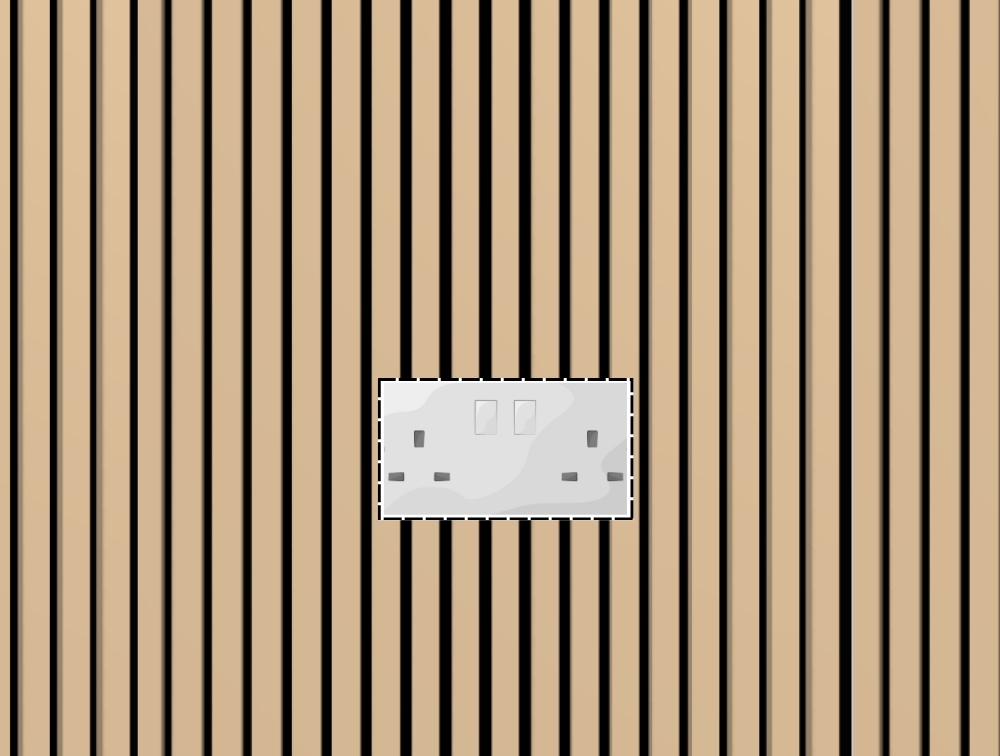
Carefully install the panel with socket cutouts, ensuring proper alignment.
13. Measure Remaining Width

When the wall is almost panelled, measure the remaining width so the final panel can be cut to size.
14. Mark Final Panel
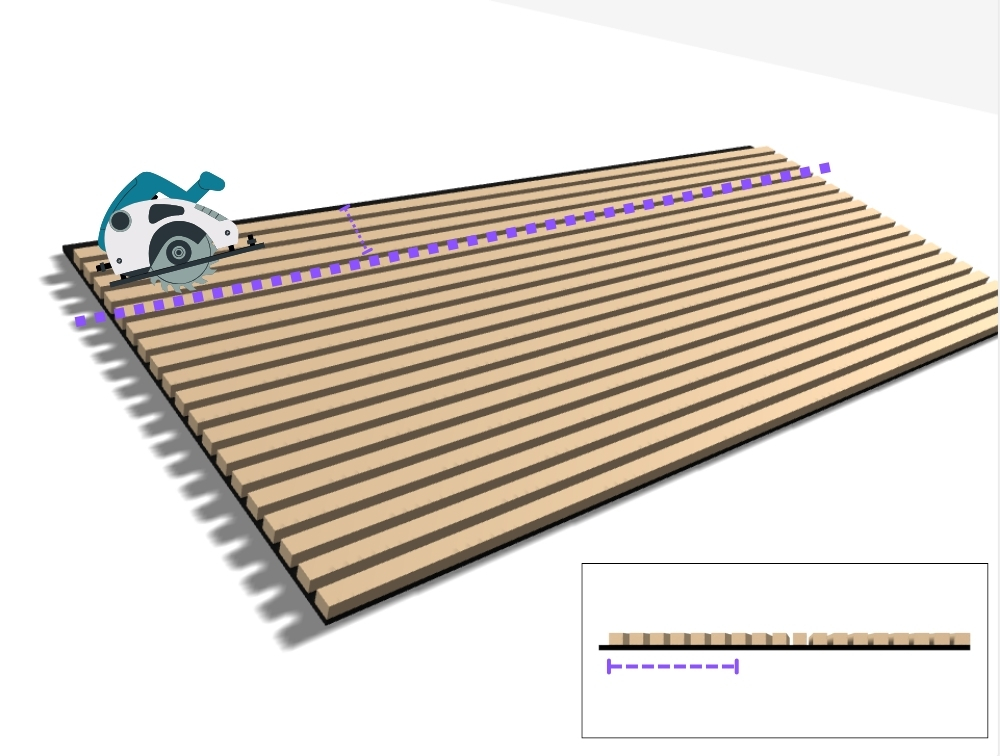
Transfer the measurements to the final panel and mark cutting lines.
15. Complete Installation
Final inspection and cleanup of installation site. For enhanced acoustic performance, see our guide on room soundproofing.
Important Notes
- Allow 24 hours for adhesive to cure fully
- Maintain room temperature between 18-25°C during installation
- Ensure adequate ventilation throughout the process
- Check wall for pipes and cables before fixing
- Consider room acoustics and panel arrangement for optimal sound absorption